Planning
Microcement bathroom renovation: a step-by-step planning guide
Planning a microcement bathroom? Work through tiles, waterproofing, surfaces, colour, sealing and aftercare in the right order for a seamless result.
Key takeaways
- Microcement can be applied over existing tiles and baths that are firmly adhered and stable, avoiding a full strip-out.
- Microcement is a finish, not a waterproofing membrane, so confirm wet-area waterproofing with your builder or the relevant professional.
- Decide surfaces, colour, texture and sheen together, and confirm slip considerations for floors on your project.
- Fewer grout lines mean fewer places for grime and mould to accumulate, but ventilation and regular cleaning still matter.
- Application typically takes 5 to 7 days, so plan for another bathroom and a careful first week.
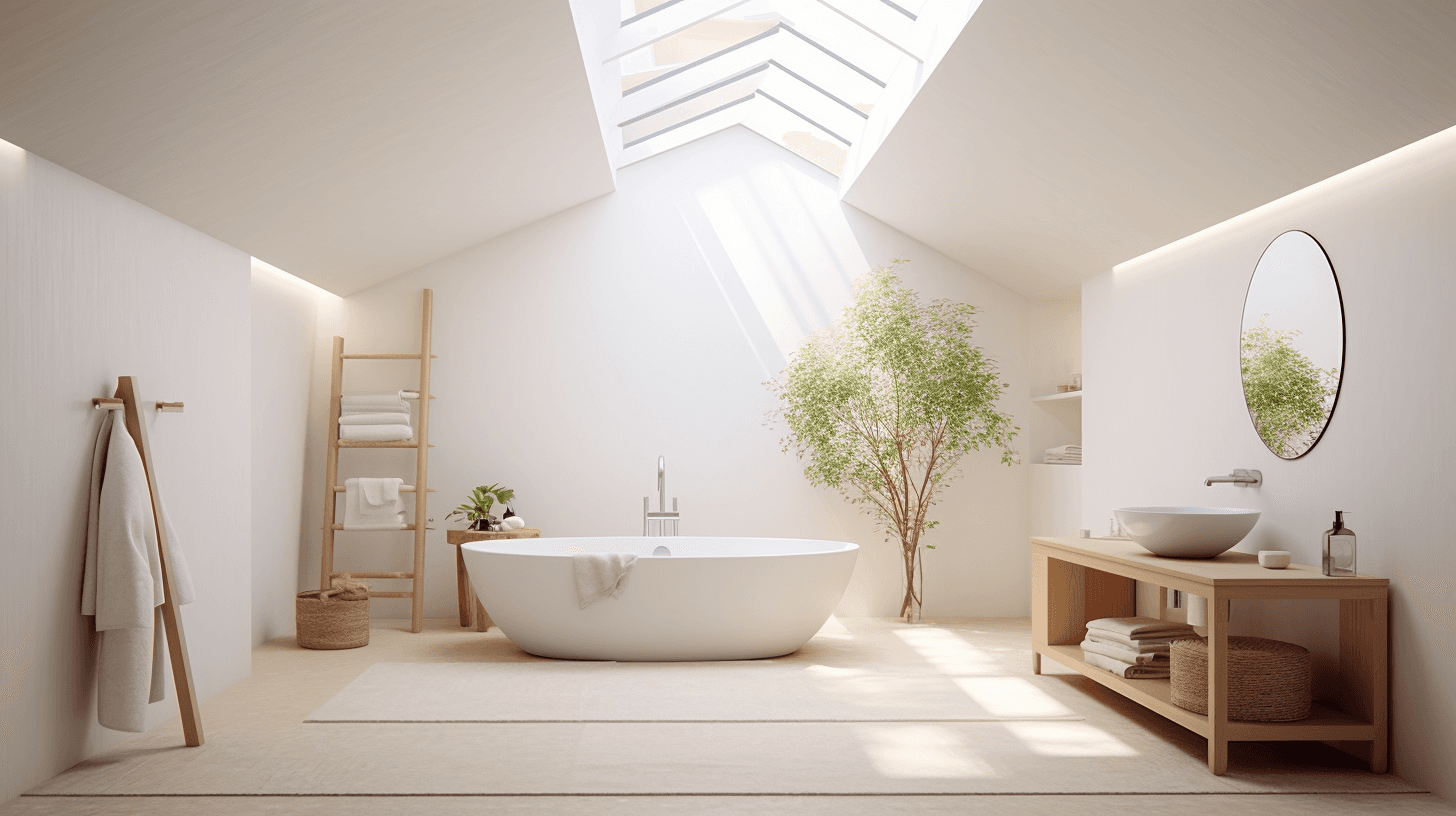
A microcement bathroom renovation can transform a dated room without the demolition of a full strip-out. Microcement can be applied over suitable existing tiles and baths, creating one continuous, sealed surface across walls, floors and fixtures.
Good results come from making decisions in the right order. The steps below take you from the first assessment through to aftercare, so you know what to decide, what to confirm with other professionals and what to expect along the way.
Step 1: Assess the existing tiles, bath and substrate
Everything starts with what is already there. Existing tiles need to be firmly adhered and stable, and the substrate as a whole must be stable, level, free of dirt and below 5% humidity. An existing bath can also be finished in place, subject to an individual assessment of its stability and suitability.
Before the assessment, note anything you already know about the room.
- Tiles that sound hollow when tapped, or that have moved or cracked
- Cracked or missing grout and failed silicone
- Signs of leaks or damp, such as staining, swelling or peeling paint nearby
- Floors that are noticeably uneven
- Any plans to move the shower, bath, toilet or vanity
Our guide to microcement over tiles explains what makes a tiled surface suitable and what happens when it is not.
Step 2: Confirm waterproofing with your builder
Microcement is not waterproof by itself. When a proper sealer is applied as the finishing layer it becomes water-resistant, and with appropriate finishing it can be used effectively in bathrooms. It is still a finish, not a waterproofing membrane.
Wet-area waterproofing requirements should be confirmed for each project with your builder or the relevant professional before the finish is locked in. If the existing waterproofing is compromised or the layout is changing, that work comes first, and if new waterproofing is part of the job, ask how long it needs before the next trade can start. Our guide on whether microcement is waterproof explains the difference in more detail.
Step 3: Choose the surfaces to include
Microcement works on vertical and horizontal surfaces, so a bathroom can be finished as one continuous envelope or treated more selectively. Typical choices include the following.
- Walls, either full height or to a consistent line
- The floor, including the shower floor where suitable
- Shower walls and niches, finished without grout joints, as shown on our microcement showers page
- The vanity, benchtop or a built-in bench
- The bath surround or the outside of an existing bath
Wrapping niches, ledges and benches in the same finish removes the small joints and trims that tend to collect grime, and gives the room a calm, sculpted look. Decide early where the finish will stop, such as at the ceiling line, a door frame or a change of material, so edges are planned rather than improvised.
Step 4: Colour, texture and sheen
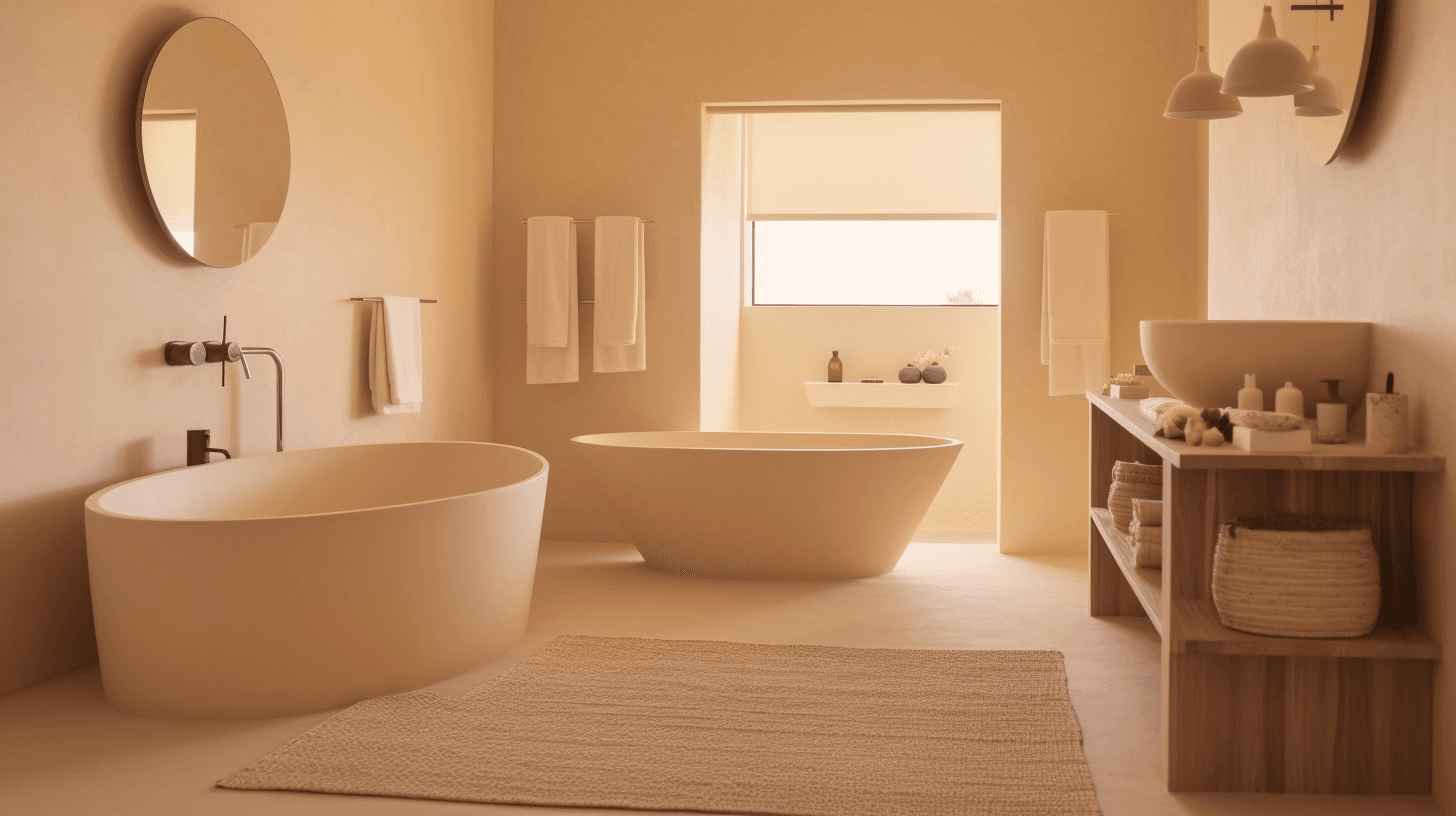
Bathrooms are often small and lit mostly by artificial light, so colour decisions deserve extra care. Pale Basic and Nordic tones keep a room bright, Warm tones create a spa-like calm and deeper colours can make a powder room feel intimate. Compare physical samples under your bathroom's own lighting, using our guide to choosing a microcement colour as a checklist.
Texture matters as much as colour. A smooth finish looks polished and wipes down easily, whereas a more textured one shows more of the hand-applied character. Discuss sheen at the same time, since it changes how deep the colour reads and how readily marks show.
Floor slip considerations
Slip resistance depends on the texture, the sealer and how the floor will be used, particularly in showers and around baths. Confirm the requirements for your floors with your builder or the relevant professional, and discuss the texture and sheen options with us before making a final choice.
Step 5: Fewer grout lines in a microcement bathroom
One of the most practical reasons to choose microcement for a bathroom is the absence of grout. Because the surface is seamless and water-resistant, there are no grout lines or seams where grime and mould usually accumulate, and cleaning becomes a matter of wiping rather than scrubbing joints.
That does not make a bathroom maintenance-free. Soap residue and mineral deposits can still build up on any surface if they are left, so a light, regular routine keeps the finish at its best.
Step 6: Sealing and ventilation
Sealing is what makes microcement water-resistant, and several coats may be required to protect the surface from wear, water and stains. In a bathroom the sealer works hard, so it will need periodic attention over time, depending on how the room is used.
Ventilation supports the finish and the whole room. An effective exhaust fan, a window that can open and the habit of drying shower surfaces after use all reduce lingering moisture and the conditions in which mould grows. Plan any new fan, ducting or window changes before application, so nothing has to be cut into the finished surface.
Pay particular attention to junctions. Where microcement meets the bath, shower screen, vanity or tapware, ask how each edge will be detailed and sealed, since those edges see the most water.
Step 7: Timeline, budget and the first week
The application process typically takes 5 to 7 days, depending on the size and complexity of the room, and the bathroom is out of use while the layers are applied and dry. Arrange access to another bathroom and coordinate with your plumber on removing and refitting fixtures. Our guide to how long microcement takes sets out the full sequence.
Luxury Concrete's microcement application generally costs $160–$300 AUD per square metre, including materials and labour. The exact figure varies with the condition of the substrate, the complexity of the work and other project requirements, so an on-site assessment and quote gives the real number. The microcement cost guide explains what affects the price.
Before work starts, clear out toiletries, towels, mats and anything stored in the room. Afterwards, microcement continues to harden over several weeks, so treat the new surfaces gently in the first week and confirm at handover when the room can return to full use.
Step 8: Ongoing cleaning
Day to day, squeegee or wipe down shower walls and floors after use and clean regularly with a pH-neutral product and a soft microfibre cloth or mop. Avoid acidic descalers, bleach-based sprays, ammonia and abrasive pads, which can wear the sealer. Our guide to cleaning and maintaining microcement covers the full routine.
Ready to plan your bathroom? Contact us with your ideas and photos to arrange an assessment and quote.
Frequently asked
01Can microcement go over my existing bathroom tiles?
Yes, provided the tiles are firmly adhered and stable. The strong adhesion of microcement allows it to be applied directly over existing tiles, avoiding the time and mess of removal. Loose, hollow or cracked tiles, and any sign of damp behind them, need to be dealt with first, which is confirmed during the on-site assessment.
02Is microcement suitable inside a shower?
With appropriate finishing, microcement can be used in bathrooms and other areas exposed to water. Once sealed it is water-resistant, but it is not a waterproofing membrane, so the shower's waterproofing must be confirmed separately with your builder or the relevant professional, along with slip considerations for the floor.
03Do the toilet and vanity need to be removed?
It depends on the design. Fixtures that sit on or against the surfaces being finished are often removed and refitted so the microcement can run behind or beneath them, and your plumber can coordinate this with the application schedule. What needs to move is confirmed during the assessment.
04Will microcement show water marks or soap residue?
A sealed surface resists water, but soap residue and mineral deposits can build up on any bathroom finish if they are left. Drying shower surfaces after use and cleaning regularly with a pH-neutral product stops marks from settling.
Keep reading
Related guides.
Can you apply microcement over existing tiles?
Microcement's strong adhesion means it can often go straight over existing tiles. Here is what needs checking, how tiles are prepared and when removal is still the better option.
Is microcement waterproof? Sealing, wet areas and care
Microcement is water-resistant once correctly sealed, but it is not a waterproofing membrane. Here is what that means for bathrooms, showers, kitchens and laundries.
How long does microcement take to install?
Most microcement applications take 5 to 7 days, depending on size and complexity. The indicative sequence, what can extend it and how to plan around it.