Seven layers, by hand
Microcement, layer by layer, by hand.
A considered microcement finish begins with the existing surface and is built through careful preparation, hand application and sealing.
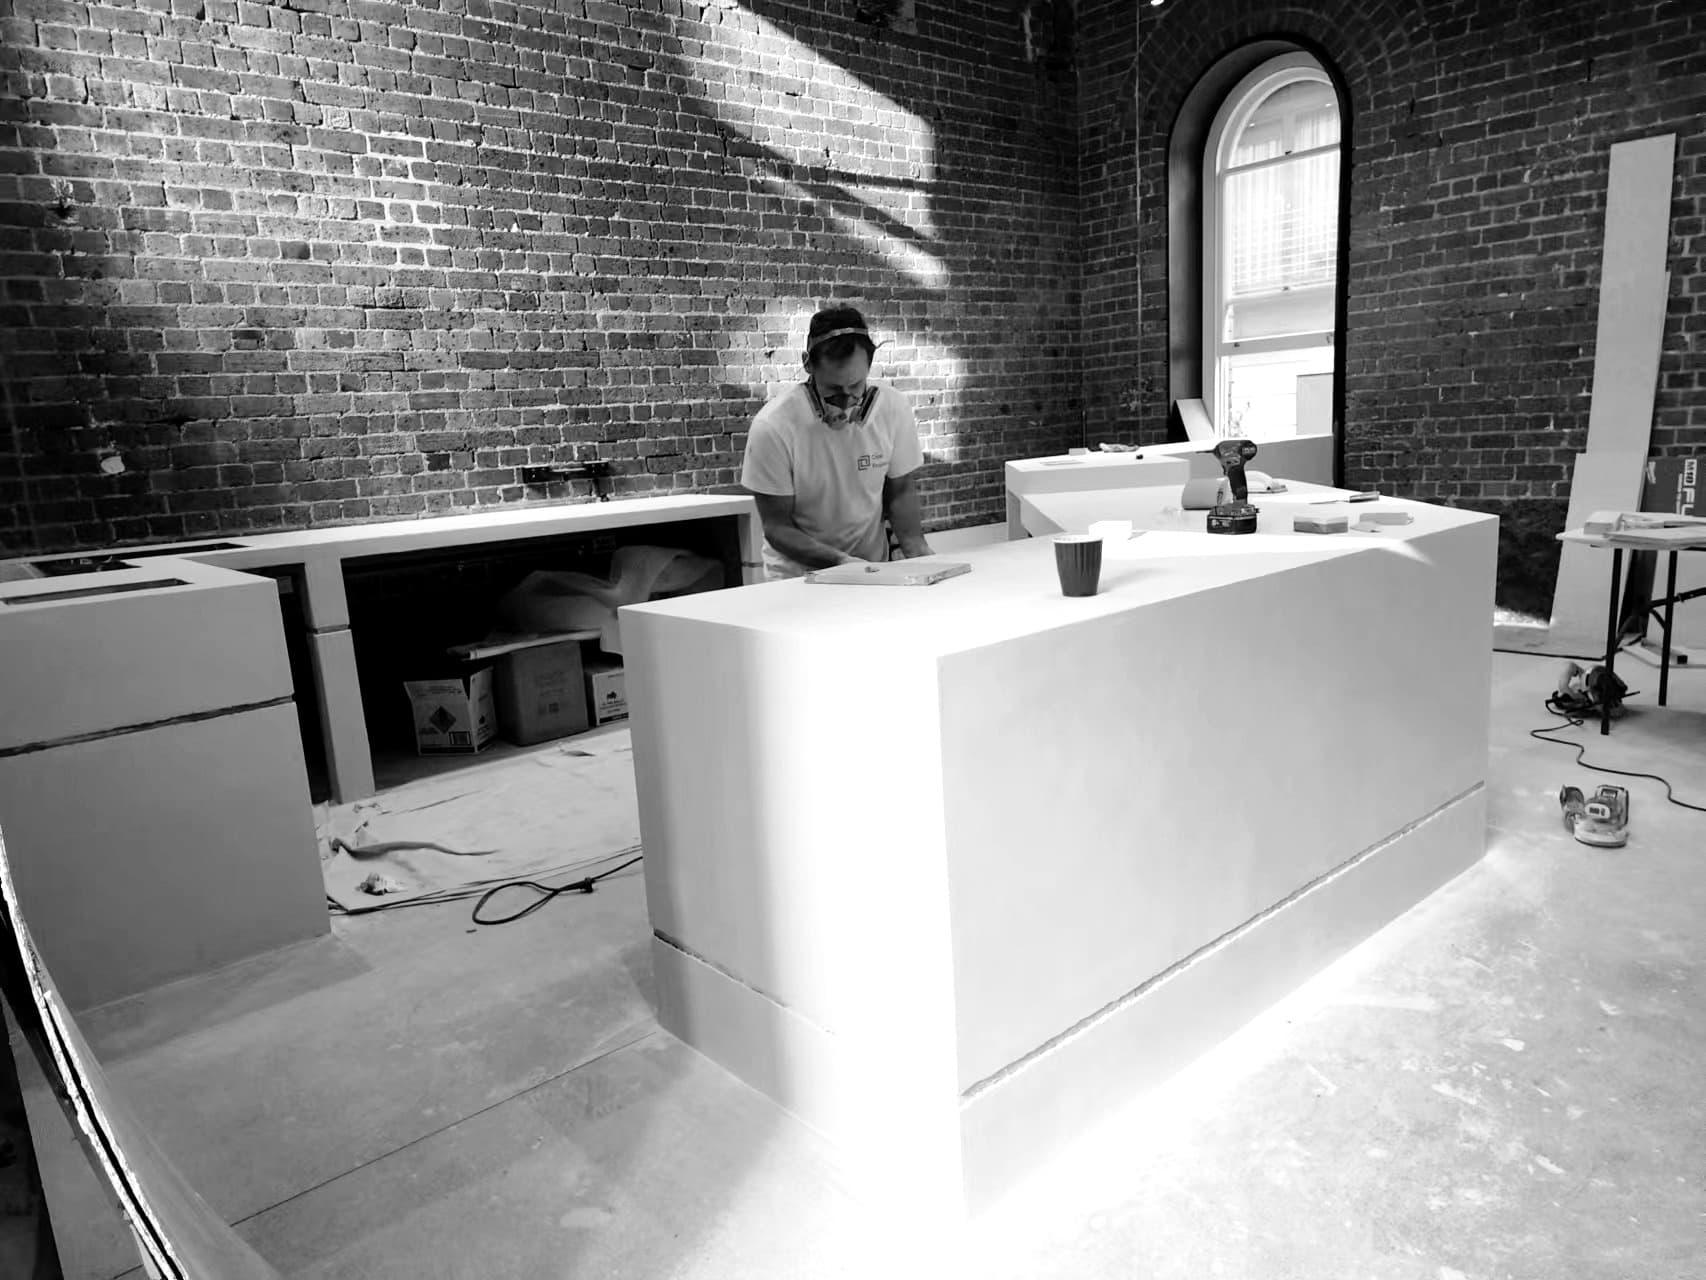
The project journey
From first visit to cured surface.
From the first look at the existing surface to the weeks after completion, every project follows the same six phases.
- 01
Assess
Check that the substrate is suitable, stable, level, clean and below 5% humidity before work begins.
- 02
Prepare
Remove dust, grease, old paint and anything that may prevent adhesion, then apply primer and allow it to dry.
- 03
Build
Apply the first microcement base layer, allow it to dry, then apply and dry the second base coat.
- 04
Refine
Sand the base layers, then apply two finer finish layers, drying and sanding between coats.
- 05
Seal
Seal the dry finished surface to protect it from wear, water and stains. Several coats may be required.
- 06
Cure
The surface continues to harden over several weeks, so take care during the first week after completion.
The system / seven layers
What sits beneath the finish.
Each coat has a job. Together they create a strong, seamless foundation, the colour and texture you see, and the protection that keeps it looking right.
- 01
Existing surface
A stable, level and clean substrate below 5% humidity, such as tile, plaster, cement mortar or plasterboard.
- 02
Primer
Supports adhesion, seals the surface and helps prevent moisture problems before any microcement is applied.
- 03
First base layer
A trowelled scratch coat of microcement base that begins to build a strong, seamless foundation.
- 04
Second base layer
A second base coat, dried completely and sanded to remove irregularities before the finish.
- 05
First finishing layer
Finer finish microcement carries the chosen colour and the first visible trowel movement.
- 06
Second finishing layer
The final hand-trowelled coat that defines texture, depth and the character of the surface.
- 07
Sealer
Protects against wear, water and stains and enhances the colour. Several coats may be required.
For builders and applicators
The detailed application checklist.
The exact system follows the surface and project requirements. This is the sequence behind a typical application.
Show all 8 application steps
- 01
Surface preparation
Clean and prepare the surface so it is free from dust, grease, old paint or anything that may prevent an effective bond. If applying to tiles, check that they are firmly adhered and stable.
- 02
Primer application
Apply a primer to support adhesion, seal the surface and help prevent moisture problems, then leave it to dry.
- 03
First base layer
Apply the first layer of microcement base with a trowel and leave this scratch coat to dry.
- 04
Second base layer
Apply a second base coat and allow it to dry completely.
- 05
Sanding
Sand the dry base layers to remove irregularities and prepare for the finishing layers.
- 06
Finishing layers
Apply two layers of finer finish microcement, allowing each to dry and sanding before the next layer.
- 07
Sealing
Seal the dry finished surface to protect it from wear, water and stains and to enhance the colour. Several coats may be required.
- 08
Polishing
Polish the sealed surface for a smooth, flawless finish.
Timing and curing
Five to seven days, then patience.
The application process typically takes 5 to 7 days, depending on the project's size and complexity. This includes surface preparation, multiple microcement layers and final sealing.
Microcement continues to harden and gain full strength over several weeks after application. Take care with the surface during the first week after completion while it develops its full hardness and resistance.
Underfloor heating
A protocol for heated floors.
Yes, microcement can be applied over underfloor heating systems, but specific protocols are required to help prevent cracks caused by substrate temperature changes.
- Turn on the heating at least four weeks after laying the cement mortar or other base layer.
- Keep the circuit inlet water at about 25°C for 2 to 3 days, then gradually increase it to 45°C and maintain that temperature for a few days.
- Switch off the heating at least 48 hours before microcement installation. The maximum floor temperature should be about 18°C.
- Apply microcement to a cementitious mortar or another suitable substrate that has reached an advanced setting stage, typically after three to four weeks depending on the weather.
Always change the temperature gradually at the start and end of a heating period. Avoid very low relative humidity and heat build-up caused by rugs, carpets or insufficient space beneath furniture. An expansion joint is also required between the screed and vertical walls so the screed can expand. Cracks may appear if these requirements are not followed.
Read the underfloor heating guidePlan ahead
Guides for the build.
How long does microcement take to install?
Most microcement applications take 5 to 7 days, depending on size and complexity. The indicative sequence, what can extend it and how to plan around it.

Can you apply microcement over existing tiles?
Microcement's strong adhesion means it can often go straight over existing tiles. Here is what needs checking, how tiles are prepared and when removal is still the better option.

Can you install microcement over underfloor heating?
Microcement can go over underfloor heating, provided the base and heating are brought through a specific protocol first. Here are the steps, temperatures and ongoing care.