Surfaces
Microcement benchtops and vanities
Microcement gives kitchen benchtops, islands and bathroom vanities a seamless, hand-finished surface, and suitable existing benchtops can be coated in place.

In context
The application in context.
Benchtops work hard, so preparation and sealing matter more here than almost anywhere else. The existing top or new base must be stable, rigid and made from a suitable material, and the sealer is selected for water, stains and frequent cleaning. With sensible habits around heat, knives and spills, the surface is straightforward to live with.
Refinish instead of replace
A suitable existing benchtop can be coated in place, avoiding the disruption of removing it and fitting a new one.
Seamless edges and upstands
The finish can wrap the edge and continue into a splashback or upstand without a visible join.
Vanities that match the room
In a bathroom, the vanity top can share the colour of the walls and floor, or contrast with them deliberately.
Sealed against everyday spills
Sealing guards the top against water and stains, as long as spills are wiped up promptly.
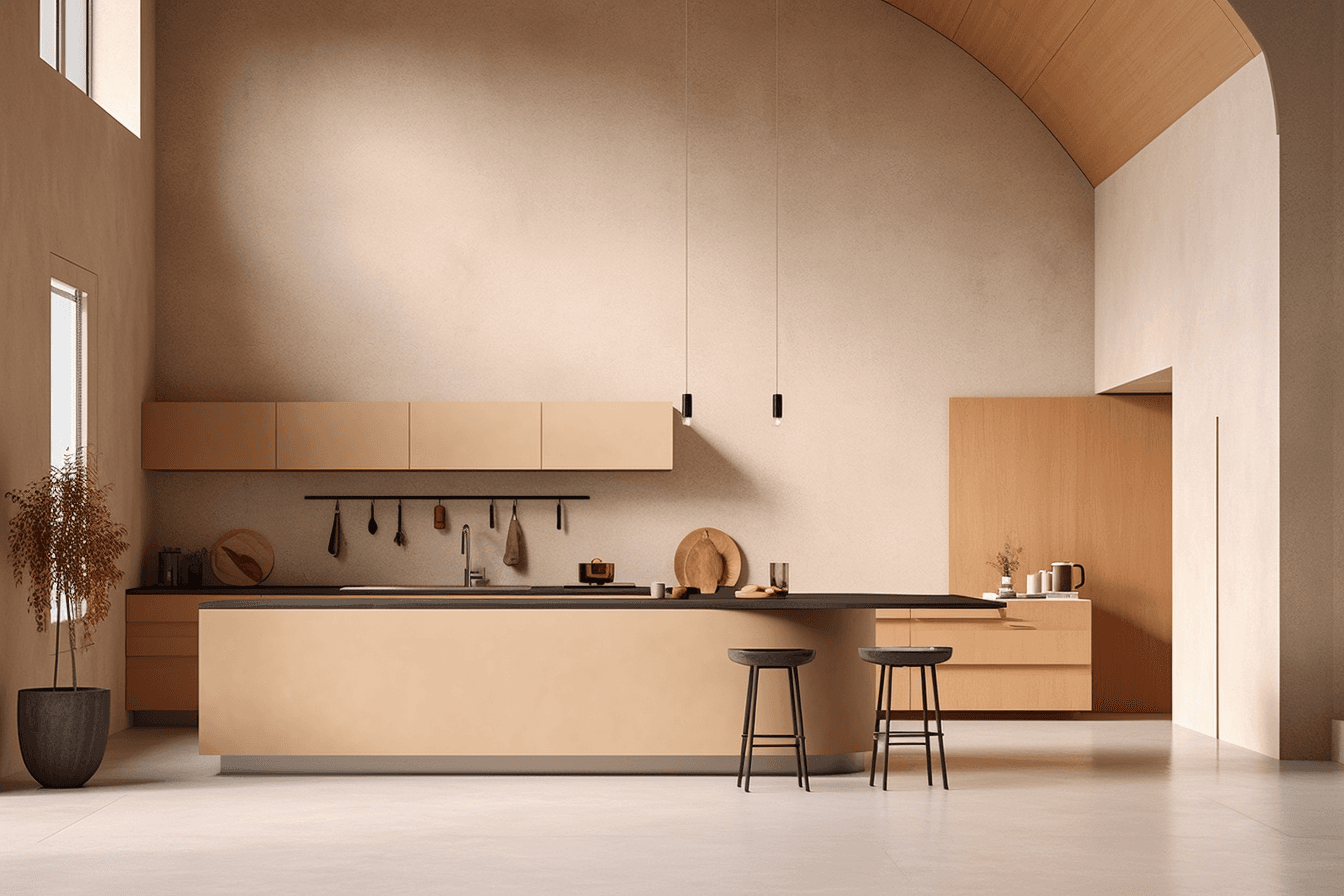 Inspiration image
Why choose microcement benchtops
Microcement benchtops have a soft, mineral character somewhere between stone and concrete. Because the finish is hand-trowelled, a top can wrap its edges, turn a corner or continue into a splashback as one surface, in a colour that matches or contrasts with the room around it.
They are also a renovation tool. Suitable existing benchtops can be coated in place, which is useful when the cabinetry is sound and only the surface needs renewing. For the wider room, see microcement kitchens and microcement bathrooms.
Kitchen benchtops, islands and vanities
The same finish is used a little differently in each setting:
- Kitchen benchtops see heat, knives, oils and acids, so daily habits and sealer maintenance matter most here.
- Islands are often the visual centre of a kitchen and suit a stronger colour or a continuous waterfall end.
- Bathroom vanities face water, soap and cosmetics, and pair naturally with microcement walls and floors.
- Counters and bars in commercial interiors follow the same principles, as with the counters at ULA Café.
Cut-outs matter as well. Plan the positions of sinks, cooktops and tapware before application, so the finish can return neatly into each opening and around each edge.
Substrates and sealing
The base must be rigid, stable, clean and below 5% humidity. Marble, terrazzo, tile and metal can all be suitable substrates. Natural timber tops are not advised, and neither are tops assembled from materials that expand at different rates. If the benchtop is new rather than existing, its base is designed from the outset around a rigid, suitable material.
Sealing is what makes a benchtop practical. After the finishing layers are sanded, the surface is sealed to protect it from wear, water and stains, and several coats may be needed before it is polished. The full sequence is on our process page, and the guide to water resistance explains what sealing can and cannot do.
Heat, knives and stains
Treat a microcement benchtop as you would a quality stone or timber surface. Use trivets or heat mats for hot pots and pans, cut on a chopping board rather than directly on the top, and wipe up oil, wine, coffee, citrus and vinegar promptly so they do not sit on the sealer. Appliances that run warm, such as toasters and coffee machines, are best set on a board or mat.
Around the sink, wipe standing water away rather than letting it pool, and avoid abrasive pads and harsh chemicals. Periodic sealer maintenance keeps that protection working; the cleaning and maintenance guide covers the routine.
Colour and finish
Benchtops are touched and seen up close, so choose colour with both appearance and use in mind. Mid-tones such as Plomo, Camel and Cacao are forgiving of everyday marks, while Gris Marengo and Graphite suit a dramatic island or vanity. A smoother texture is easier to wipe clean on a working surface.
Edge profile belongs to the same decision. A crisp square edge looks precise but takes knocks at the corners, while a slightly softened edge is more forgiving on a busy island or a family vanity.
Colour direction
Finishes to start with.
A starting palette for benchtops & vanities. Compare physical samples in your own light before deciding.
Browse every finish




01Can I put hot pans on a microcement benchtop?
It is best not to. Direct heat from pots and pans can damage the protective sealer, so use trivets or heat mats, as you would with many stone and timber surfaces.
02Will a microcement benchtop scratch?
Sealed microcement resists everyday knocks and scratches, but it is not designed to be cut on. Use a chopping board, lift rather than slide heavy appliances, and keep grit off the surface so the sealer stays intact.
03How do I stop a microcement vanity from marking?
Wipe up cosmetics, hair products and toothpaste promptly, and avoid leaving wet soap or bottles sitting on the surface. Clean with a pH-neutral product and keep the sealer maintained so it continues to protect the top.
Keep exploring
Related applications.
 Inspiration image
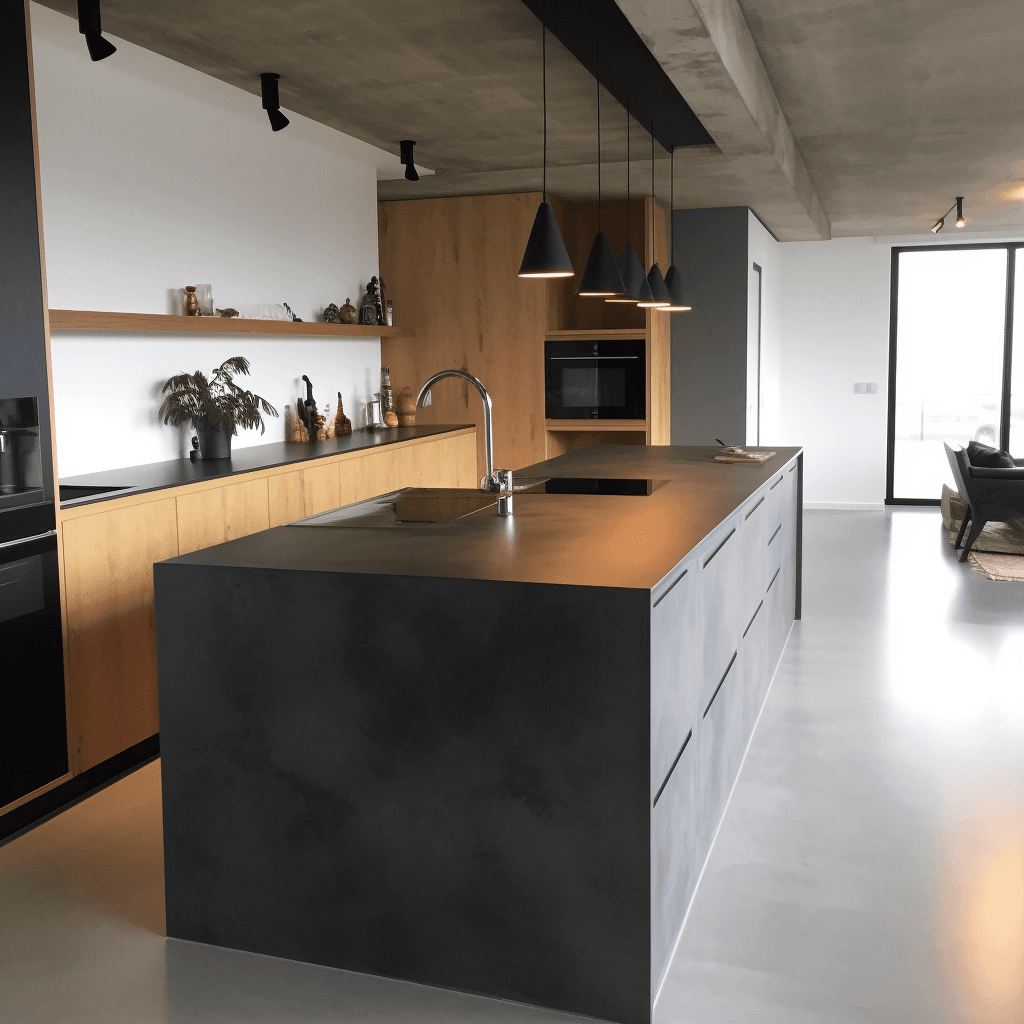
Microcement can update suitable tiles and benchtops with a thin, continuous finish, making it useful for renovation work.
 Inspiration image
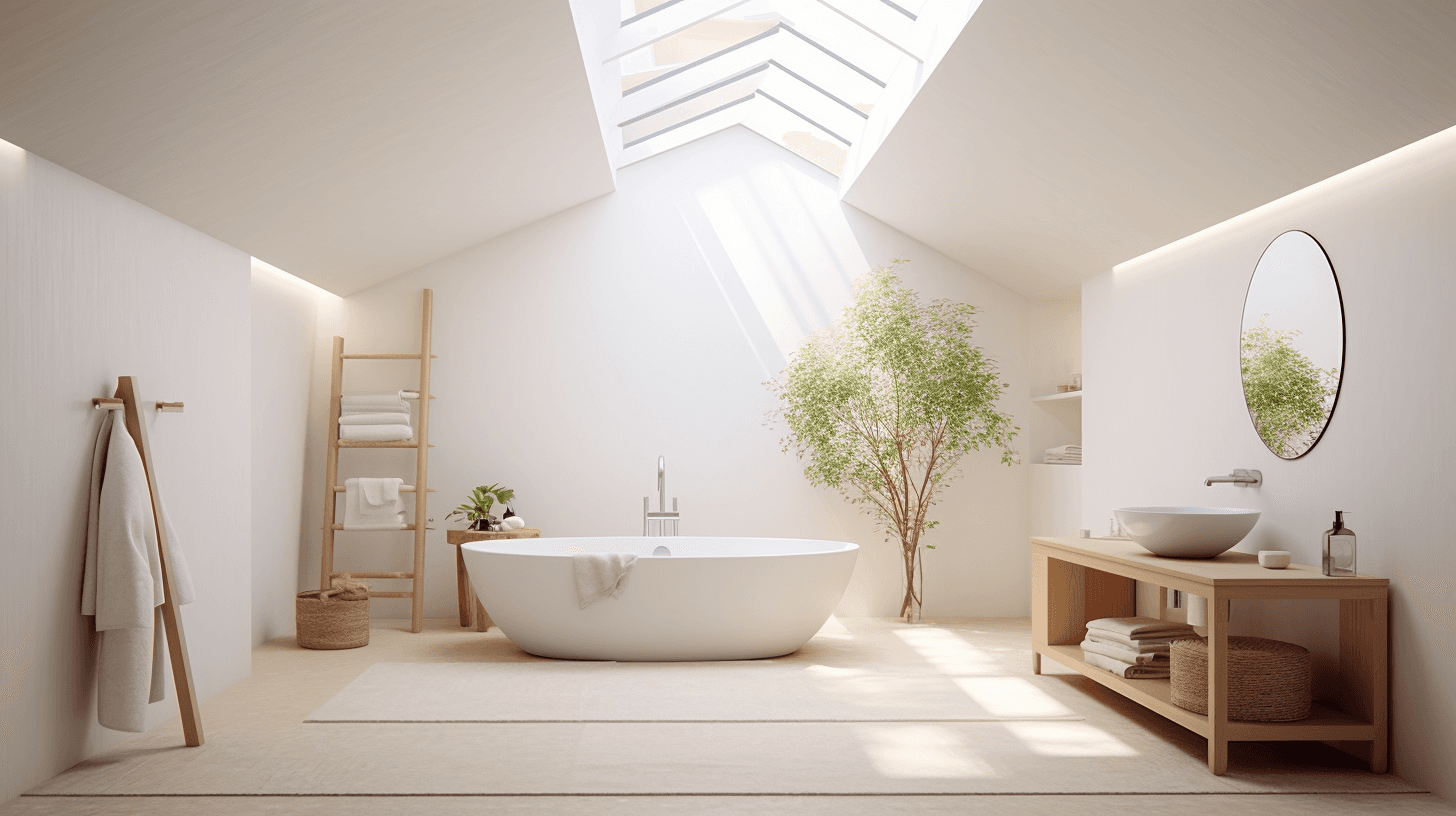
Bathroom renovations can retain suitable existing tiles while replacing grout-heavy visual breaks with a continuous, sealed surface.
 Inspiration image
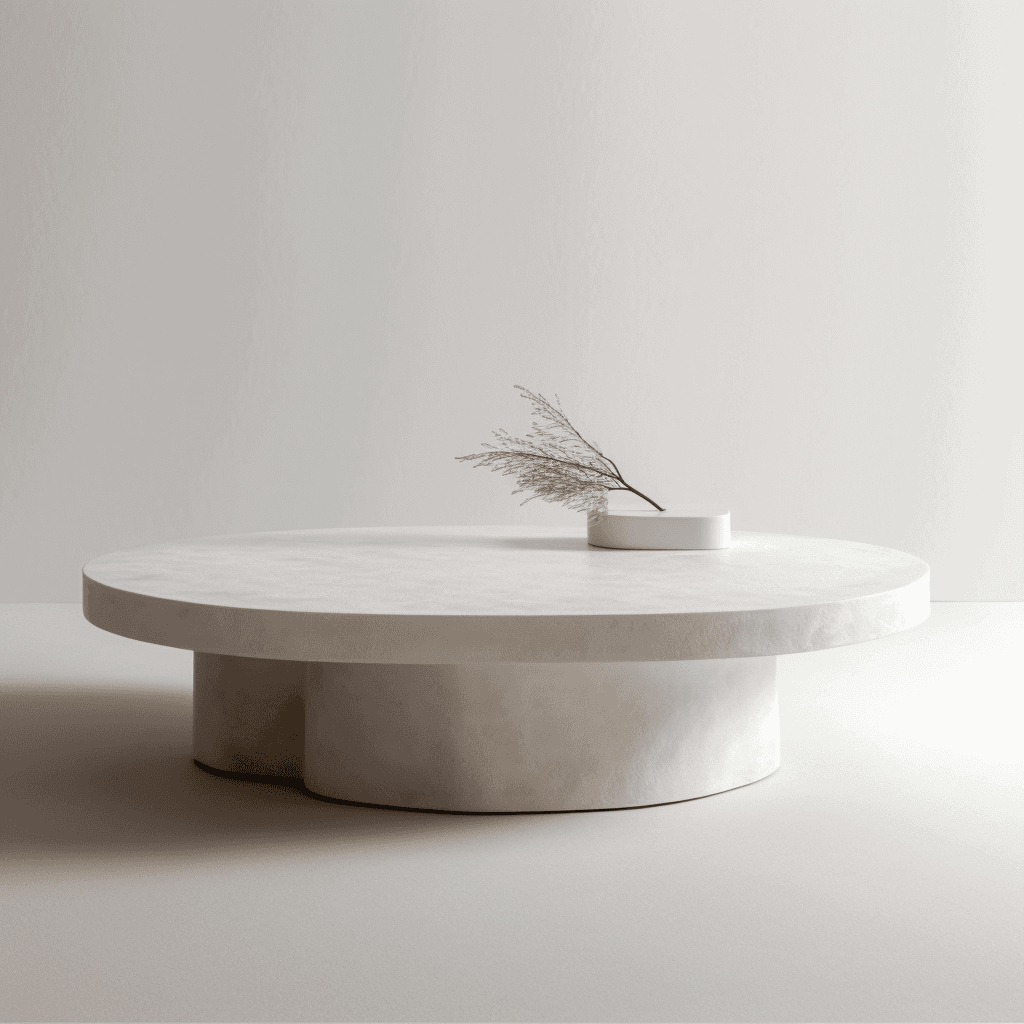
Microcement can renew an existing piece or give a custom furniture form one continuous finish.