Material
What is microcement? A complete guide
A plain-English guide to microcement: what it is made of, how it compares with paint, render and polished concrete, where it works and where it does not.

Key takeaways
- Microcement is a polymer-modified, cement-based coating made from cement, water-based resins, additives and mineral pigments.
- It is built up in several hand-trowelled layers to around 2–3 mm, so it adds little weight to a structure.
- It can cover floors, walls, ceilings and furniture, indoors and outdoors, in finishes from matte to glossy.
- The substrate must be stable, level, clean and below 5% humidity, and natural wood is not advised.
- Our installed pricing generally ranges from $160–$300 AUD per square metre, including materials and labour.
What is microcement? In short, it is a thin, hand-applied coating that gives floors, walls, ceilings and furniture one continuous surface. Picture a bathroom where the floor flows up the walls and across the vanity without a single grout line: that is the effect microcement is known for.
This guide explains what microcement is made of, how it differs from finishes it is often confused with, and what to check before you decide whether it suits your project.
What it is made of
Microcement is a polymer-modified, cement-based coating. Its main components are cement, water-based resins, additives and mineral pigments, which together create a material that can adhere to almost any suitable surface.
The resins are what set microcement apart from traditional cement finishes. They help it bond to existing substrates and give it a degree of flexibility, while the mineral pigments provide its colour.
Luxury Concrete supplies a two-component system. Base, floor and wall microcements are used with a Part B resin, and the finish is built up in several thin layers over a primed surface, then sealed.
How it differs from paint, render and concrete
Microcement looks like concrete and is trowelled on a little like plaster, so it is easily confused with other finishes. The differences matter when you are deciding what belongs in your space.
Microcement and paint
Paint is a thin decorative film, used mainly to add colour to walls and ceilings. Microcement is built up in layers, carries visible trowel movement and texture, and is sealed to resist wear. It is more hard-wearing than paint, which is why it can also be used on floors, benchtops and stairs.
Microcement and render
Render is also cement-based, but it is typically applied more thickly, mainly to masonry walls, to level and protect them. It is not generally used as a sealed finish for floors, benchtops or furniture. Microcement is thinner, polymer-modified and able to bond to substrates such as tile, plasterboard and metal.
Microcement and poured or polished concrete
Poured concrete is a thick, heavy layer, and polished concrete is that layer ground and polished once it has cured. Polished concrete is mainly used for floors and often needs expansion joints. Microcement is a coating of around 2–3 mm that can go over an existing surface and continue up walls and across joinery, as our comparison of microcement vs polished concrete explains.
Where microcement can be used
Microcement can be applied to vertical and horizontal surfaces, indoors and outdoors. Common uses include:
- Floors in living areas, kitchens, bedrooms, offices and shops
- Walls, from a single feature wall to full-height bathroom walls
- Ceilings, where the same finish continues overhead
- Benchtops, vanities, stairs and furniture
- Bathrooms, kitchens and laundries, once the surface is correctly sealed
- Selected exterior surfaces, assessed project by project
Suitable substrates include cement mortar, self-levelling mortar, terrazzo, marble, tile, plaster, plasterboard and metal. Browse our applications to see how the finish is used room by room.
Commercial interiors show how far that continuity can go. At ULA Café in Collingwood, we worked with SuiL Architects on a monolithic interior where microcement runs across curved walls, counters and thresholds.
In bathrooms, kitchens and laundries, microcement relies on its sealer. Once a proper sealer is applied as the final layer, the surface becomes water-resistant, but it is not waterproof by itself and does not replace the waterproofing a wet area needs.
Finishes, colours and textures
Finishes range from matte to glossy, and textures from rough and stone-like to smooth and refined. Because every layer is applied by hand, the surface carries subtle tonal movement rather than a flat, uniform colour.
Sheen shapes the mood of a room as well. A matte finish reads as soft and mineral, while a glossier finish reflects more light and can make a smaller space feel brighter.
Colours run from soft whites such as Blanco and Panacotta, through greys from light Plomo to deep Graphite, to warm tones including Latte and Camel. Screen colours vary, so compare physical samples in the light of your own space. You can explore the full range on our colours and textures page.
Thickness and weight
A complete microcement system is around 2–3 mm thick. It is built from a primer, two base layers, two finer finishing layers and a protective sealer, with sanding between coats and a final polish. Each layer needs time to dry before the next goes on, which is why even a modest room takes several days.
That low build-up is what makes microcement so useful in renovations. It adds little weight or load to a building's structure, can go over a suitable existing surface without demolition, and raises floor levels only slightly. Despite the thin profile, a correctly applied and sealed surface resists traffic, knocks, scratches and chemicals, so it suits high-traffic areas.
Advantages and limitations
Advantages
- Seamless: no grout lines or joints, so each surface reads as one continuous plane.
- Versatile: one material across floors, walls, ceilings and furniture.
- Low build-up: around 2–3 mm, with little added load.
- Durable: suited to high-traffic areas when correctly applied and sealed.
- Easy to clean: a sealed surface with no joints to scrub.
- Less disruptive: no rubble or major construction work when it goes over a suitable existing surface.
Limitations
- It is not advised over natural wood or over substrates made of pieces that may expand at different rates.
- The substrate must be stable, level, free of dirt and below 5% humidity, so some surfaces need repair first.
- It is not waterproof by itself. It becomes water-resistant once sealed, and wet areas still need their own waterproofing.
- It is labour-intensive to apply, so it can cost more than some tiles.
- Application typically takes 5–7 days, and the surface keeps hardening for several weeks afterwards.
What microcement costs
Luxury Concrete's microcement application generally ranges from $160–$300 AUD per square metre, including materials and labour. Where your project sits in that range depends on the condition of the substrate, the complexity of the work and other project requirements. Our microcement cost guide explains each factor and what to send for an accurate quote.
How to start a project
- List the surfaces you want to cover and what each one is made of now.
- Take photos and rough measurements, and gather any plans or drawings.
- Shortlist finishes on the colours and textures page, then compare physical samples in the light of your own space.
- Request a quote so the scope and the substrate can be reviewed.
- Read through the application process so you know what happens at each stage.
Include your photos and plans when you send an enquiry. Images of your space make it much easier to talk through colour, texture and sheen, and whether each surface is suitable.
Frequently asked
01Is microcement the same as concrete?
No. Concrete is poured as a thick, heavy layer, while microcement is a polymer-modified coating applied at around 2–3 mm. The two can look similar, but microcement is trowelled on by hand in layers, sealed, and used on walls and furniture as well as floors.
02Can microcement be used outdoors?
Yes. Microcement is suitable for interior and exterior settings, on both vertical and horizontal surfaces. The substrate still needs to be stable, level, clean and below 5% humidity, and suitability for a specific outdoor area is confirmed on site.
03Can microcement be applied over timber?
It is not advised over natural wood, or over substrates made from pieces that may expand at different rates, because movement in the substrate can transfer into the finish. Cement mortar, tile, plaster, plasterboard and metal are among the substrates that suit it.
04How long does a microcement installation take?
Application typically takes 5–7 days, depending on the size and complexity of the project, and covers surface preparation, the microcement layers and sealing. The surface continues to harden for several weeks afterwards, so treat it gently during the first week.
05Is microcement easy to look after?
Yes. Clean a sealed microcement surface with a soft mop or cloth and a pH-neutral cleaner, and avoid abrasive pads, bleach and harsh acids. Felt pads under furniture help prevent scratches, and the sealer should be maintained over time.
Keep reading
Related guides.
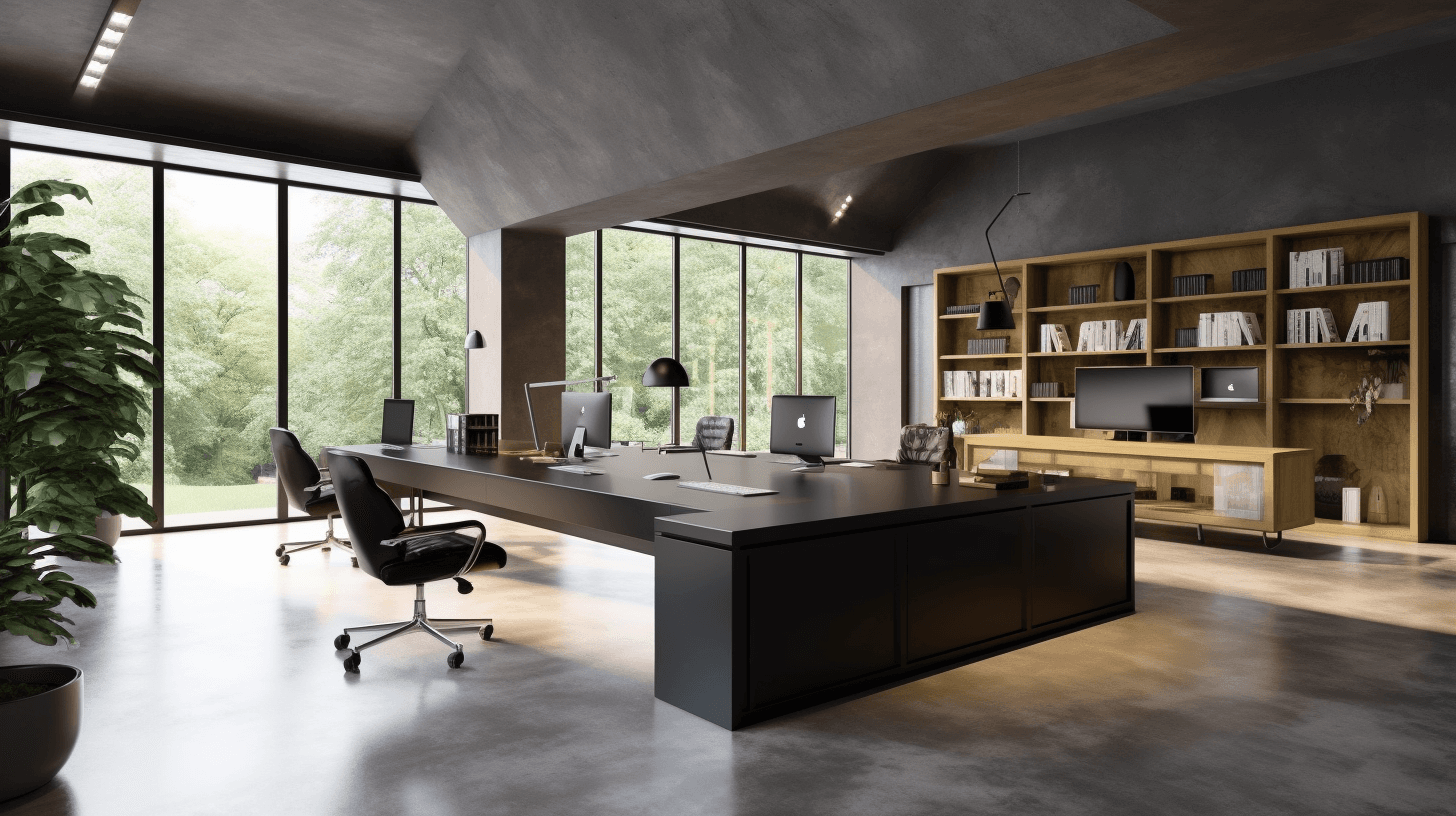
Microcement vs polished concrete: the key differences
Both finishes deliver a modern, industrial look, but they are built very differently. Compare weight, joints, flexibility, colour and timing before you choose.
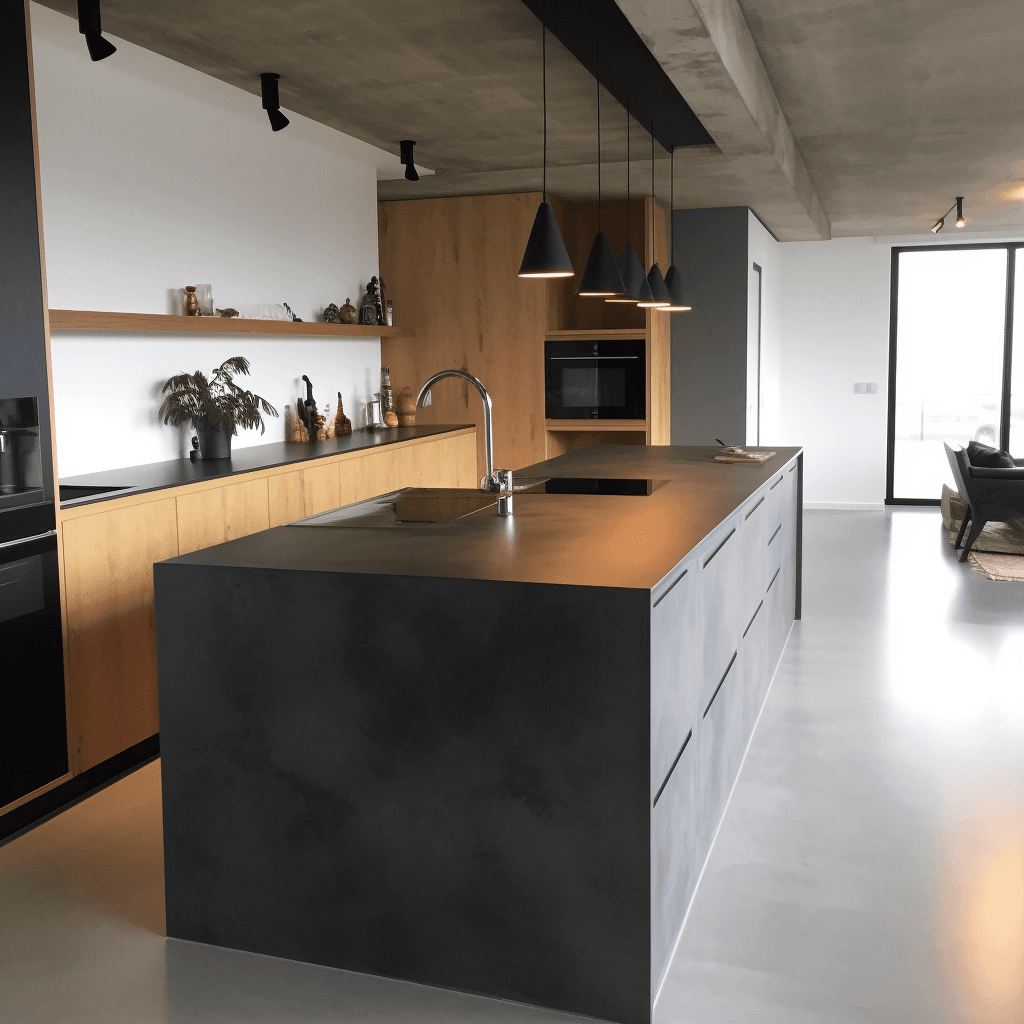
How much does microcement cost in Melbourne?
Installed microcement generally ranges from $160–$300 AUD per square metre. Here is what moves a project within that range, and what to send for an accurate quote.
Microcement glossary: 30 terms explained
From two-component systems to sheen and substrate humidity, a plain-English glossary of 30 microcement terms you are likely to hear when planning a project.