Comparison
Microcement vs tiles: a practical comparison
Tiles are the familiar choice for bathrooms and kitchens. Here is how a seamless microcement finish compares on cleaning, cost, durability, design and timing.
Key takeaways
- Microcement forms a continuous surface with no grout lines, where grime and mould usually accumulate.
- It can be applied over suitable, firmly adhered tiles, avoiding messy removal.
- It can cost more than some tiles because it is hand-trowelled in multiple layers.
- One finish can run across floors, walls, ceilings and furniture.
- In wet areas, waterproofing is a separate requirement whichever finish you choose.
Microcement vs tiles is the choice at the heart of many bathroom and kitchen renovations. Tiles are familiar and come in a vast range of formats. Microcement offers something tiles cannot: one continuous surface without grout lines. This guide compares the two on the points that matter in daily life.
Microcement vs tiles at a glance
| Consideration | Microcement | Tiles |
|---|---|---|
| Surface | Continuous, with no grout lines | Individual units separated by grout joints |
| Cleaning | A sealed surface with no joints to scrub | Grout lines can hold grime and mould |
| Renovating | Can go over suitable, firmly adhered tiles | Replacement often means demolition and disposal |
| Cost | Can cost more than some tiles, as it is hand-trowelled in layers | Varies widely with the tile, preparation and labour |
| Durability | Resists traffic, knocks, scratches and chemicals once sealed | Hard-wearing, though tiles can chip and grout can wear |
| Design | One finish across floors, walls, ceilings and furniture | Wide choice of formats and patterns; joints are part of the look |
| Wet areas | Water-resistant once sealed; waterproofing is a separate requirement | Waterproofing is also a separate requirement |
Grout lines and seamless surfaces
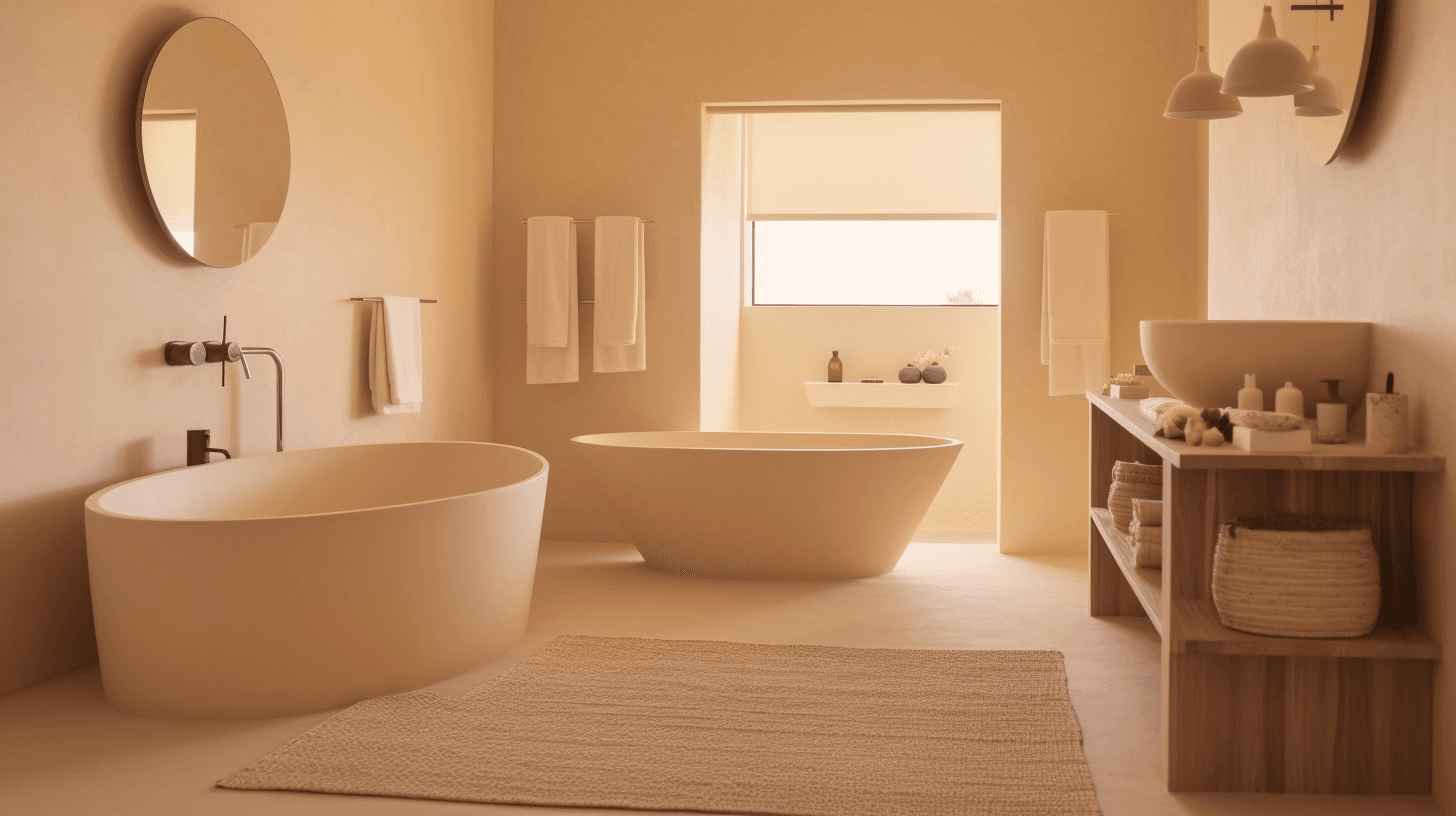
The most visible difference is the joint. A tiled wall or floor is a grid of individual units, held together and separated by grout. Microcement is trowelled as a continuous layer, so a floor, a wall and even a vanity can read as one surface.
That continuity is practical as well as visual. Grout lines and seams are where grime and mould usually accumulate, particularly in bathrooms. A sealed microcement surface removes those lines altogether, and in a small room the unbroken surface can make the space feel larger and calmer.
Edges and corners show the difference too. Tiled edges usually need trims or mitred joints, while microcement is trowelled around edges and into corners as one surface.
Cleaning and everyday care
Tiles themselves wipe clean easily, but grout is more porous. It often needs scrubbing, and in some cases regrouting, to stay looking fresh. With microcement, the maintenance focus shifts to the sealer, which protects the surface from water and stains.
Texture plays a part as well. A smoother microcement finish is quicker to wipe down than a heavily textured one, which is worth considering for benchtops and shower walls. Day-to-day care for sealed microcement is simple:
- Clean with a soft mop or cloth and a pH-neutral cleaner
- Avoid bleach, harsh acids, scouring powders and abrasive pads
- Wipe up spills promptly, especially oil, wine and coffee
- Use felt pads under furniture legs
- Maintain the sealer over time, particularly in wet or high-traffic areas
For a fuller routine, see our guide to cleaning and maintaining microcement.
Renovating without removing tiles
In a renovation, microcement has a practical advantage: its strong adhesion means it can be applied directly over existing tiles. That avoids the time-consuming and messy process of removing the original surface, along with the dust, noise and rubble that come with it.
Removal often leads to further work, such as patching walls or re-levelling floors before anything new goes on. Because microcement adds only around 2–3 mm, floor levels change very little when it goes over the existing tiles.
The tiles must be firmly adhered and stable, and loose or cracked tiles have to be dealt with first. Our guide to applying microcement over existing tiles explains the checks and preparation.
Cost considerations
Microcement can cost more than some tiles. It is labour-intensive to apply and requires a professional to hand-trowel multiple layers, with sanding between coats and sealing at the end. What you pay for is a bespoke, seamless finish in the colour and texture you choose.
Tile prices vary widely, from budget ranges to premium stone and handmade tiles, so a like-for-like comparison depends on what you would otherwise choose. Laying, grouting and trims also add to the cost of a tiled finish.
Look at the whole project rather than the finish alone. Retiling often involves demolition, waste removal and making good before new tiles are laid, while microcement can go over suitable existing tiles. Our installed pricing generally ranges from $160–$300 AUD per square metre, including materials and labour, and the microcement cost guide explains what moves a project within that range.
Durability and design flexibility
Durability
Correctly applied and sealed, microcement resists traffic, knocks, scratches and chemicals, which suits it to high-traffic areas. Its flexibility helps it cope with minor substrate movement, although significant movement can crack it, just as it can crack tiles and grout.
Tiles are hard-wearing too, but individual tiles can chip or crack, and grout can wear or discolour over time. With microcement, long-term performance comes down to a stable substrate, a well-maintained sealer and sensible everyday care. In wet areas the sealer does most of the work, while in living areas felt pads and regular removal of grit help protect the surface.
Design
Tiles offer an enormous range of formats, materials and patterns, and the grout joint is part of their look. Microcement offers a different kind of freedom: one finish continuing across floors, walls, ceilings, benchtops and furniture, with no change of material at corners or edges.
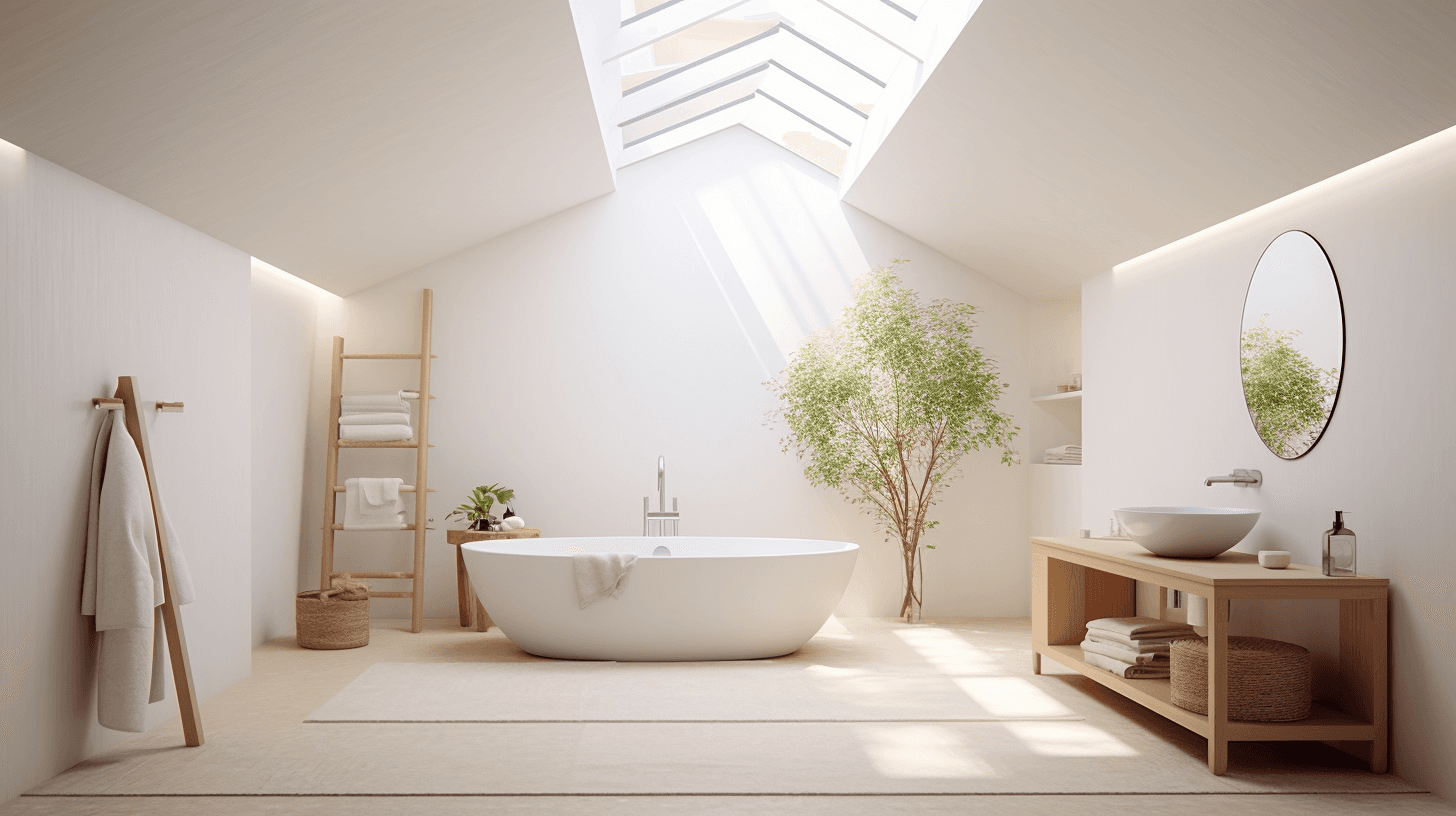
Colours run from soft whites such as Blanco to warm tones like Nogal and Centeno, with textures from smooth to more rustic. In bathrooms and showers, that continuity lets walls, floors and even the bath share one quiet finish.
Most tiles are manufactured, so what you see in a sample is close to what goes on the wall. Microcement is applied by hand and carries natural variation in tone and trowel movement, which is part of its appeal. Viewing larger samples in person helps you judge it.
Timeline and wet areas
How long each option takes
Microcement application typically takes 5–7 days depending on the size and complexity of the project, including preparation, several layers and sealing. The surface then continues to harden over several weeks, so it needs care during the first week. A tiling job's timeline depends on how much demolition, preparation, waterproofing, tiling and grouting is involved. With no demolition stage, microcement over existing tiles is often quicker and less disruptive than a traditional renovation.
Waterproofing is separate either way
Neither finish is the waterproofing. Microcement is water-resistant once sealed but not waterproof by itself, and tiles and grout rely on a separate waterproofing system in wet areas too. That holds whether microcement goes over existing tiles or onto a new substrate. Read is microcement waterproof? for how sealing and waterproofing fit together.
Which is right for you?
Microcement suits you if you want a seamless look, less grout to maintain and the option to renovate without stripping existing tiles. Tiles may suit you better if you love a particular format or pattern, or want the look of individual units.
A few questions can help you decide:
- Are your existing tiles sound and firmly adhered?
- Do you want one finish across floors, walls and furniture?
- How much grout cleaning are you prepared to do?
- What is your total budget, including any demolition?
Send an enquiry with photos of your existing surfaces, and compare samples in the light of your own space.
Frequently asked
01Is microcement more slippery than tiles?
Slip resistance depends on the texture, the sealer and how the floor is used, and the same is true of tiles. For floors, and wet floors in particular, confirm the slip resistance your project requires with your builder or relevant professional before choosing a finish.
02Can microcement and tiles be used in the same room?
Yes. A room can combine a microcement floor and walls with a tiled feature, or the reverse. Where the two materials meet, the junction needs careful detailing so the edge is neat and properly sealed.
03Does microcement need resealing the way grout does?
The sealer on microcement is what protects it from water and stains, so it needs maintaining over time, particularly in showers and high-traffic areas. How often depends on use; one sign to watch for is water soaking in rather than sitting on the surface.
04Can microcement replace a tiled kitchen splashback?
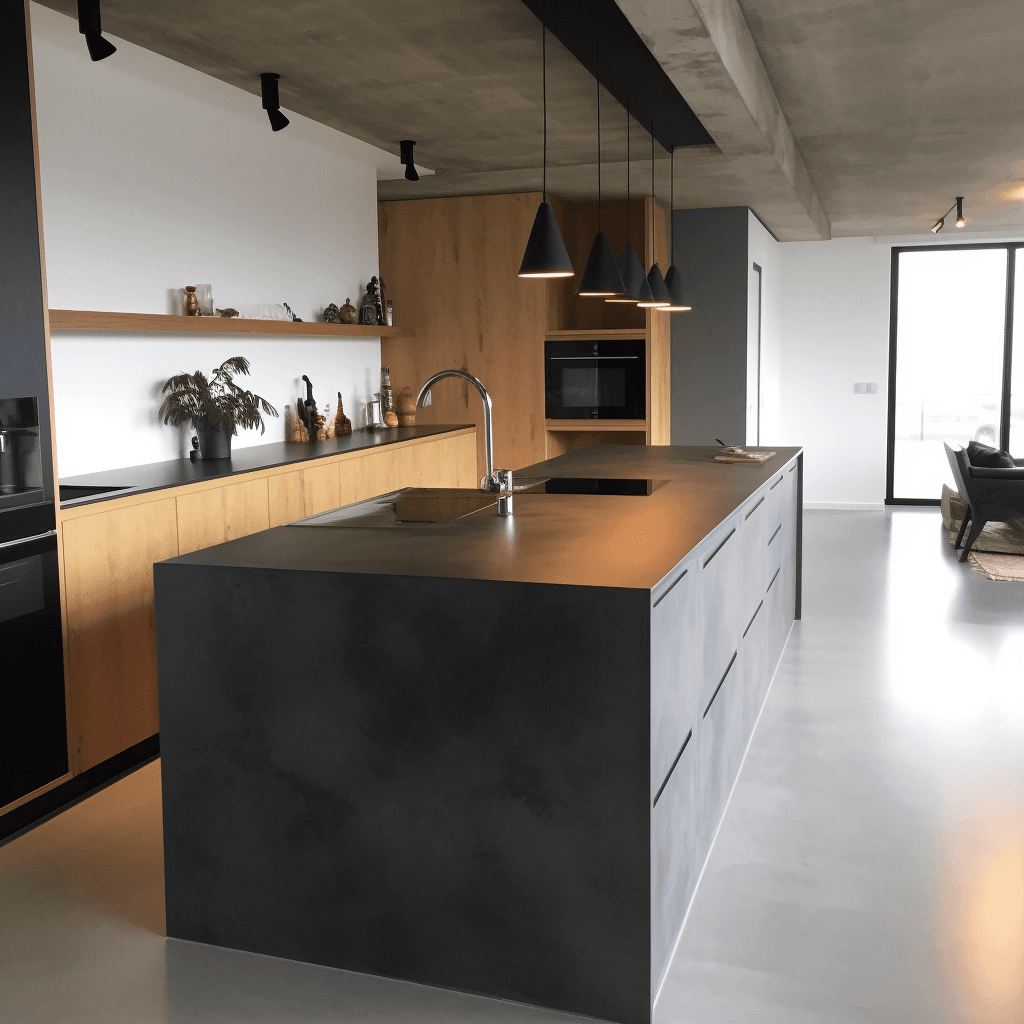
Yes. Microcement can be applied to kitchen walls and over existing tiles and old benchtops, giving a splashback without grout lines. Once sealed it is water-resistant, and spills should be wiped up promptly to protect the sealer.
Keep reading
Related guides.
Can you apply microcement over existing tiles?
Microcement's strong adhesion means it can often go straight over existing tiles. Here is what needs checking, how tiles are prepared and when removal is still the better option.
How much does microcement cost in Melbourne?
Installed microcement generally ranges from $160–$300 AUD per square metre. Here is what moves a project within that range, and what to send for an accurate quote.

Cleaning and maintaining microcement: a practical care guide
A simple routine keeps sealed microcement looking its best. What to use, what to avoid, how to handle spills and when the sealer needs attention.