Surfaces
Microcement floors
A microcement floor carries one continuous, sealed surface from room to room while adding only a few millimetres to the existing level.
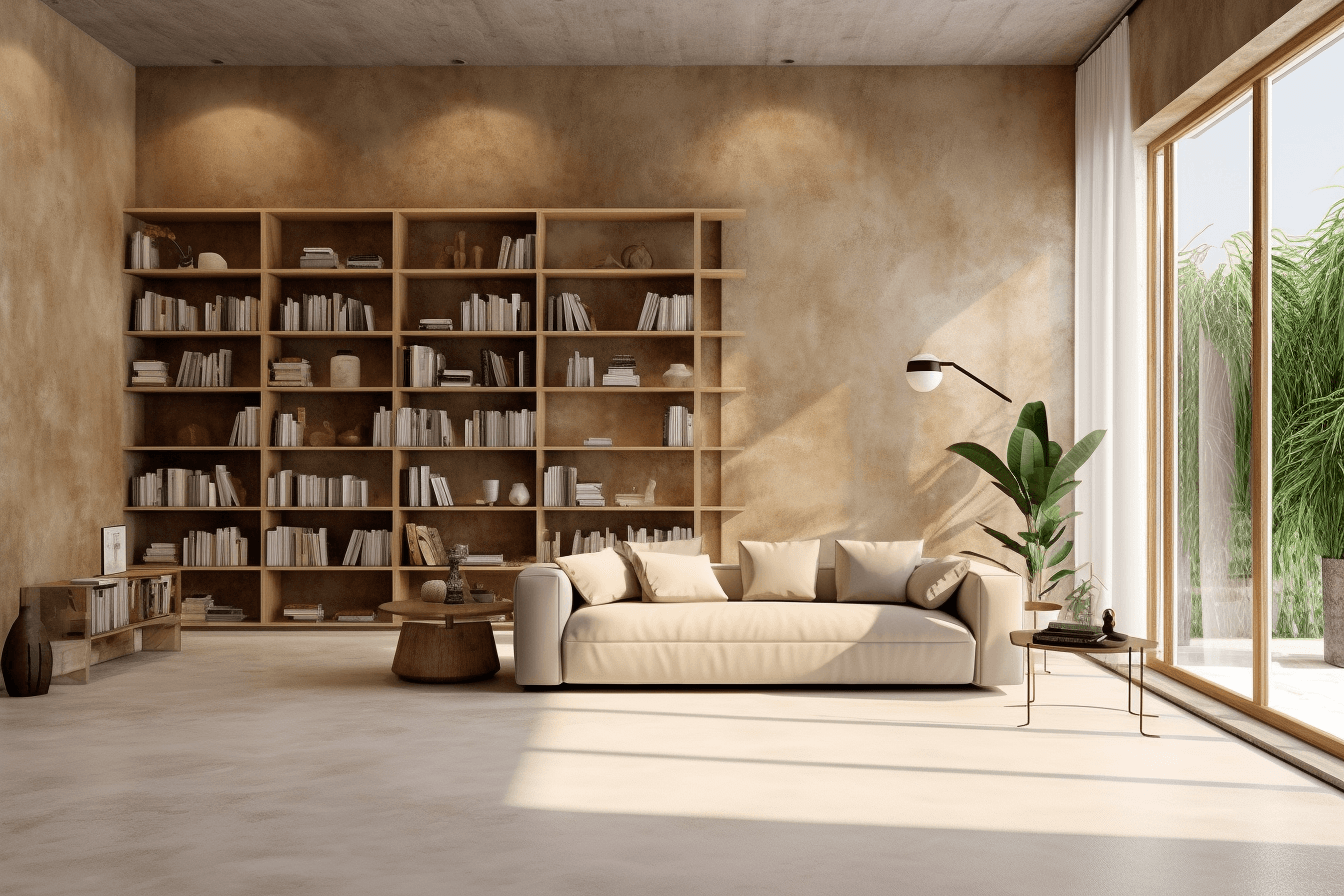
In context
The application in context.
Microcement can be applied over suitable existing floors, including tiles, cement mortar, self-levelling mortar, terrazzo and marble, once the base is stable, level and dry. It suits living areas, kitchens, bathrooms and busy commercial floors, and it can go over underfloor heating when the correct protocol is followed. Colour, texture and sheen are chosen to suit the light and how the space is used.
No grout or board lines
A continuous floor removes joints and changes of material, so connected rooms read as one open space.
Minimal change in height
The 2–3 mm build-up means floor levels, door clearances and thresholds usually change very little.
Works over underfloor heating
Microcement can go over a heated floor, provided the heating is run in, switched off and reintroduced according to the required protocol.
Made for foot traffic
Once sealed, the surface resists everyday wear, making it suitable for hallways, kitchens and busy commercial floors.
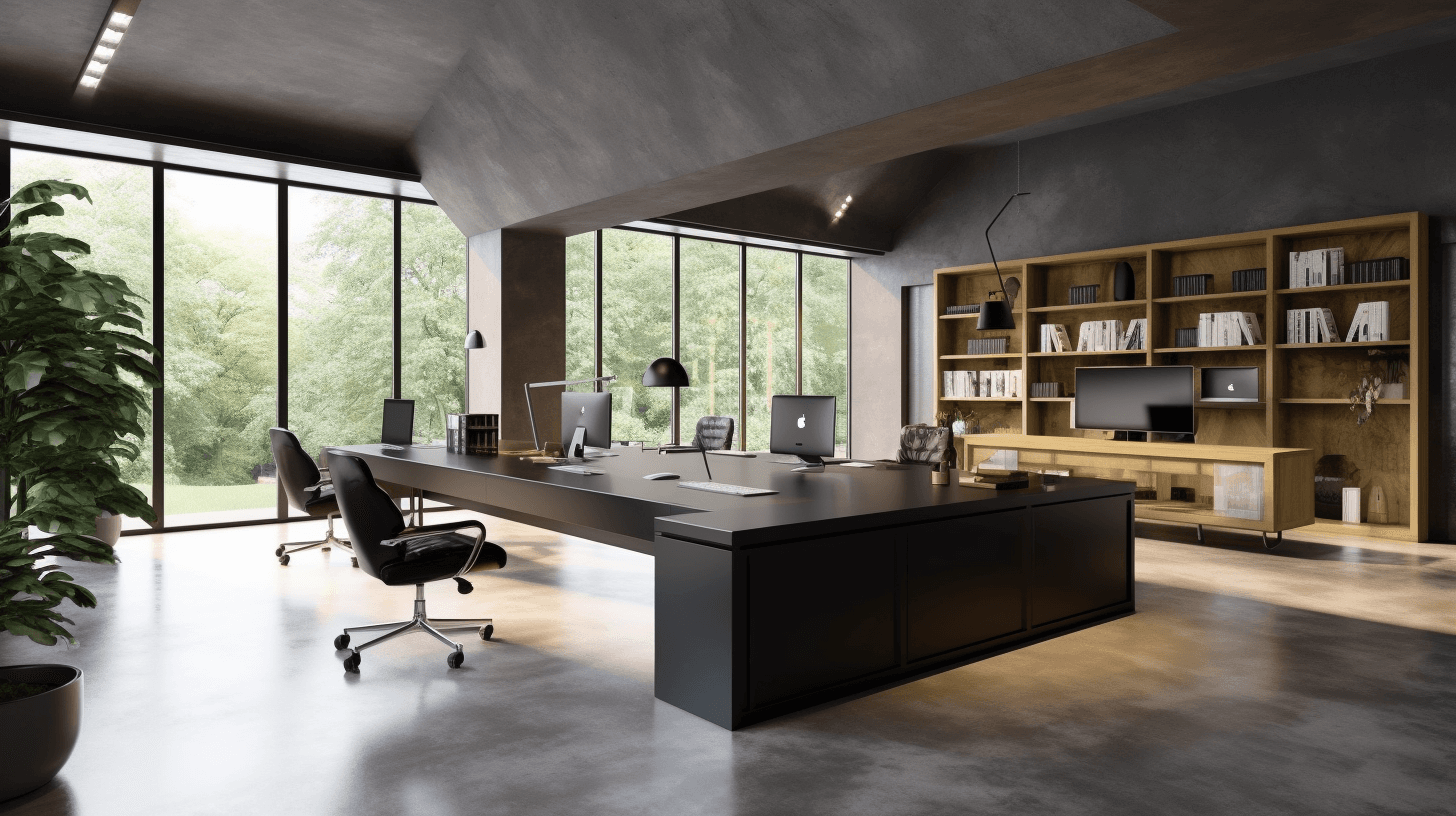 Inspiration image
Why choose a microcement floor
A microcement floor is a thin, hand-trowelled finish, around 2–3 mm in total, that bonds to a suitable existing base and creates one continuous surface. Without tile joints or board lines, rooms feel larger and calmer, and the finish can continue from the entry through the kitchen and living areas without a change of material.
It also differs from a poured floor. Polished concrete is a thick slab that is ground back, whereas microcement is a coating applied over what is already there. The comparison of microcement and polished concrete sets out the differences in thickness, joints and finish, and microcement vs tiles covers the other common alternative.
Suitable bases and preparation
What lies beneath matters more than anything else. Suitable substrates include cement mortar, self-levelling mortar, existing tiles, terrazzo and marble, provided the base is stable, level, free of dirt and below 5% humidity. Timber floorboards and other surfaces made of pieces that move at different rates are not advised.
Preparation removes anything that could stop the primer bonding, and tiles are checked to confirm they are firmly adhered. Existing joints in a slab are reviewed as part of the assessment, because a finish cannot stop movement in the structure beneath it.
Underfloor heating and microcement floors
Microcement can be laid over underfloor heating, but the base needs to be properly set and the heating run in before work starts. An expansion joint is also required between the screed and the walls so the base can move.
The underfloor heating guide sets out each stage, including the water temperatures involved.
Colour, texture and sheen underfoot
A floor is one continuous plane, so a colour that looks subtle on a sample can feel stronger across a whole room. Soft greys such as Gris, Plomo and Aluminium are calm and forgiving of everyday dust, Mocha and Cacao bring warmth, and Gris Marengo grounds a larger space.
A smoother, higher-sheen finish reflects more light, while a matte finish looks softer and more mineral. Slip resistance depends on the texture, sealer and use, so agree the requirement with your builder or the relevant professional for each project, particularly in bathrooms, entries and commercial spaces.
Cost, timing and care
As a general guide, application falls within $160–$300 AUD per square metre, including materials and labour, varying with the condition of the substrate, the complexity of the work and other requirements. The microcement cost guide breaks down what influences the figure, and you can request a quote for your own floor.
Application typically takes 5–7 days. Keep foot traffic light in the first week while the surface continues to harden, then sweep regularly, damp-mop with a pH-neutral cleaner and fit felt pads under furniture. Where the floor continues onto a staircase, see microcement stairs.
Colour direction
Finishes to start with.
A starting palette for floors. Compare physical samples in your own light before deciding.
Browse every finish





01Will tile grout lines show through a microcement floor?
Preparation aims to leave a tiled floor stable, clean and level before the primer and base layers go on, so the finished floor reads as one continuous surface. Loose or hollow tiles are addressed first, because the finish relies on a sound base.
02Do doors need trimming for a microcement floor?
Usually not. The finish adds only 2–3 mm, so door clearances generally change very little, although tight doors and thresholds are checked during the assessment.
03Can microcement floors be used outdoors?
Microcement can be used in both interior and exterior settings. Outdoor areas bring extra considerations, such as exposure and how the surface is used, so suitability, sealer and slip resistance are confirmed for each project.
Keep exploring
Related applications.
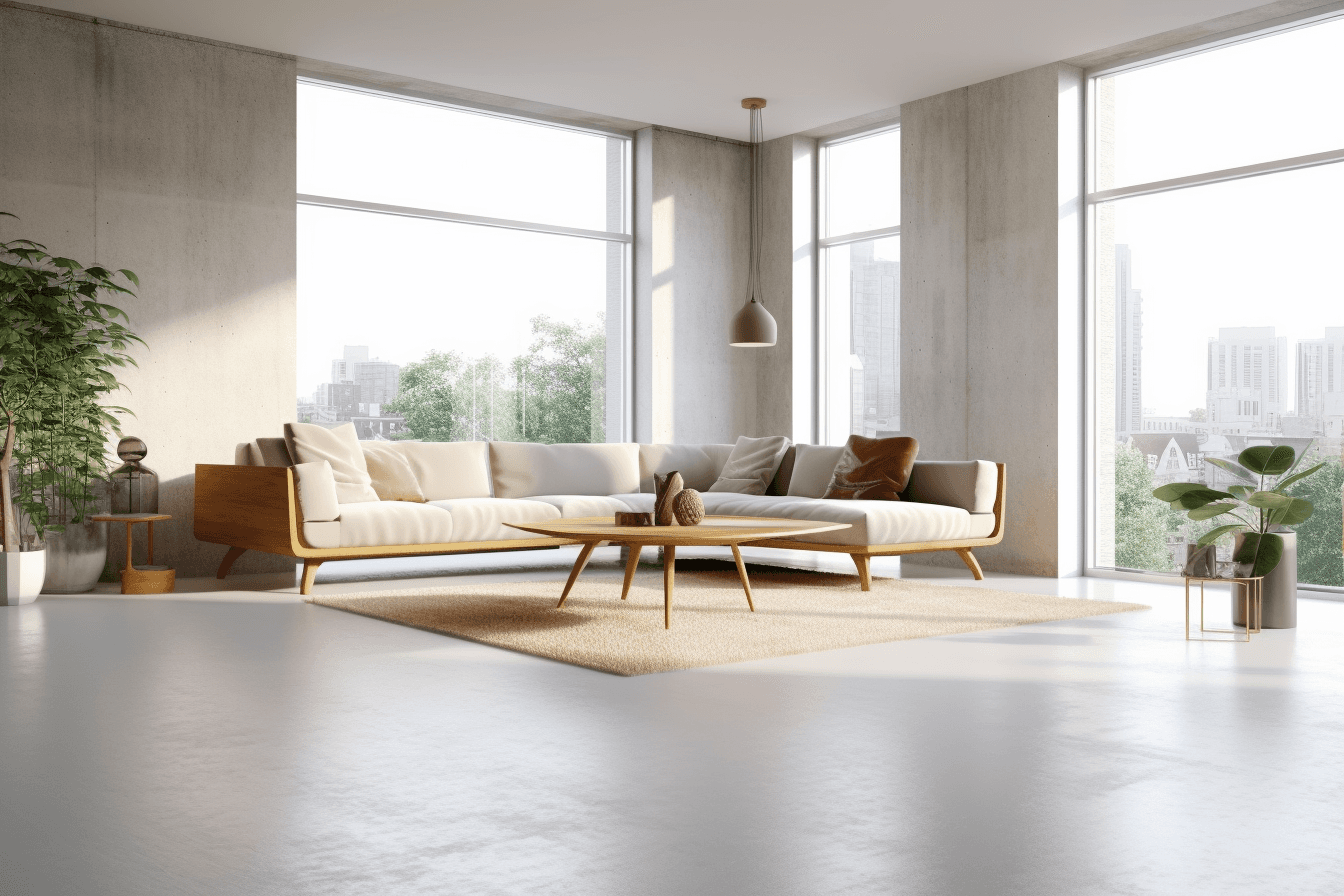 Inspiration image
Living rooms benefit from a continuous, hard-wearing surface that keeps the interior visually calm and straightforward to clean.
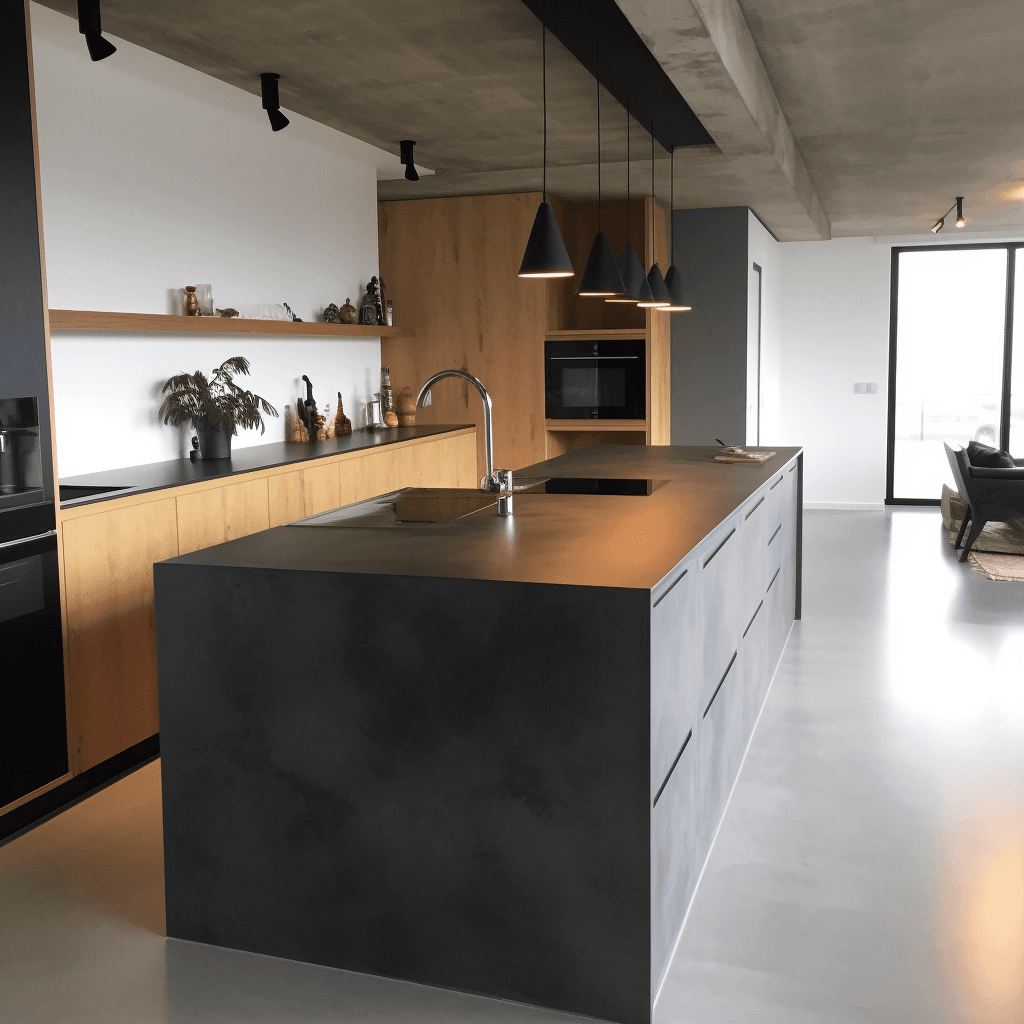 Inspiration image
Microcement can update suitable tiles and benchtops with a thin, continuous finish, making it useful for renovation work.
 Inspiration image
Microcement can finish treads, risers and stringers as one continuous surface, so a staircase reads as a single sculptural form.