Surfaces
Microcement walls
Microcement walls wrap a room in one continuous, hand-finished surface, from a single wall to every vertical plane, including curves and reveals.

In context
The application in context.
Applied in thin layers over suitable plaster, plasterboard, cement mortar, tile or metal, microcement can finish walls in living areas, bathrooms, kitchens and commercial interiors. The substrate must be stable, level, clean and dry before work begins. Colour, texture and sheen are chosen together, because trowel movement and light shape how a finished wall reads.
Continuous corner to corner
Walls, returns and reveals share one surface, with no tile joints or panel seams interrupting the room.
Suits many wall types
Plaster, plasterboard, cement mortar, tile and metal can all be suitable when stable, level, clean and dry.
Harder-wearing than paint
Sealed microcement stands up to contact better than a painted wall, which helps in hallways, stairwells and around light switches.
From dry rooms to wet
Once sealed, the finish is water-resistant, so one wall treatment can continue from living spaces into bathrooms and laundries. Waterproofing behind wet-area walls remains a separate requirement.
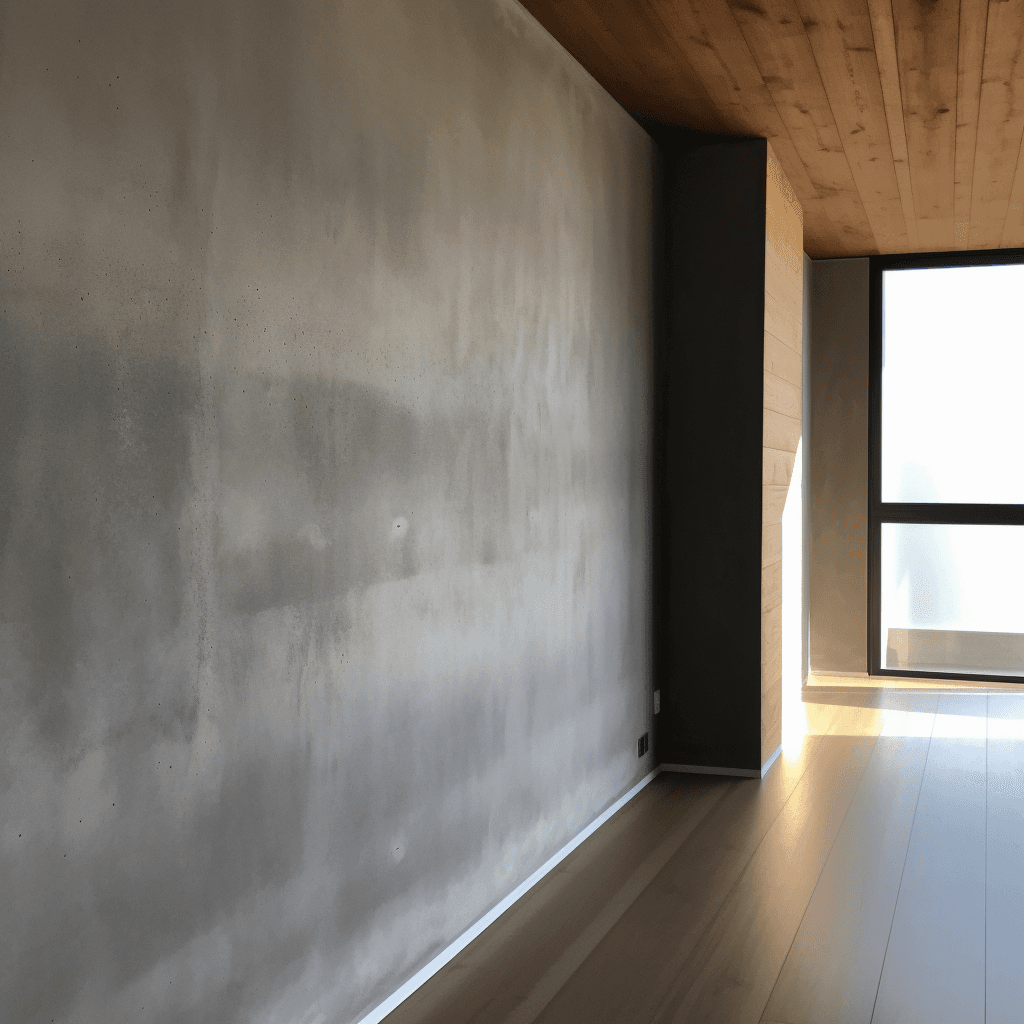 Inspiration image
Why choose microcement walls
Microcement walls are built up by hand in thin layers, then sanded, refined and sealed. The result is a continuous mineral surface with gentle tonal movement, closer in feel to stone than to paint, yet only 2–3 mm thick.
Walls show the material's versatility. It can cover a single wall, every wall in a room, or continue onto the ceiling, and it follows curves, niches and arches without joins. That makes it well suited to architectural interiors where the walls are meant to read as one form. If the material is new to you, start with what microcement is.
Edges deserve early thought. Decide how the finish will meet window frames, door frames, skirting and joinery, and whether any skirting is kept or removed, because crisp junctions are a large part of what makes a microcement wall look resolved.
Suitable wall substrates
Most interior walls are plaster or plasterboard, and both can be suitable. Cement mortar, existing tiles, marble and metal are other options. Whatever the base, it must be stable and level, free of dirt and dry to below 5% humidity, and old paint, dust and grease are removed so they do not interfere with the bond.
Natural timber linings are not advised, and neither is any wall built up from pieces that expand at different rates. If a wall shows cracks or damp, the cause is resolved before any finish is applied. Tiled walls in bathrooms and kitchens can often be finished in place, as the guide to applying microcement over tiles explains.
Walls in wet areas
In bathrooms, laundries and kitchens, microcement becomes water-resistant once sealed. It is not a waterproofing membrane, though, so the waterproofing behind shower and other wet-area walls must be confirmed separately by your builder or the relevant professional. The microcement showers page explains how the wettest zones are planned.
In laundries and kitchens, pay particular attention to the splash zones behind sinks and taps, where water sits most often, and get into the habit of wiping those areas dry after use.
Texture, colour and light
Light from windows often skims across a wall at a low angle, which makes trowel movement more visible than it would be on a floor. For a quieter wall, choose a smoother finish and a softer colour; for more character, allow more movement. Scale plays a part too: a pale, smooth wall recedes and helps a narrow room feel wider, while a deep colour with visible movement draws a wall forward and suits a larger space.
Pale tones such as Alaska and Lino reflect light around a room, Gris-liquen and Siena add a subtle tint, and Nogal and Gris Marengo create depth. For a single statement wall, see feature walls, and compare the full range on colours and textures.
Looking after microcement walls
Walls need little maintenance. Dust with a soft cloth, lift marks with a lightly dampened cloth and a mild pH-neutral cleaner, and avoid abrasive sponges and harsh chemicals that could dull the sealer. In high-contact areas such as hallways, the sealer can be maintained over time to keep the surface protected.
Colour direction
Finishes to start with.
A starting palette for walls. Compare physical samples in your own light before deciding.
Browse every finish





01Can microcement be applied to ceilings as well as walls?
Yes. Microcement can adhere to ceilings as well as walls and floors, which allows a room to be finished as one continuous shell. The ceiling is assessed in the same way as a wall, for stability, level, cleanliness and humidity.
02Does microcement work on plasterboard walls?
Plasterboard is one of the suitable substrates, provided it is securely fixed, stable and dry. The wall is checked and prepared before primer goes on, so the finish has a sound, even base.
03Will a microcement wall hide an uneven surface?
Not on its own. Microcement is a thin finish, so the wall needs to be level before application, and it cannot correct a substrate that is moving. Preparation addresses surface irregularities, and the hand-trowelled texture then gives the wall its own character.
Keep exploring
Related applications.
 Inspiration image
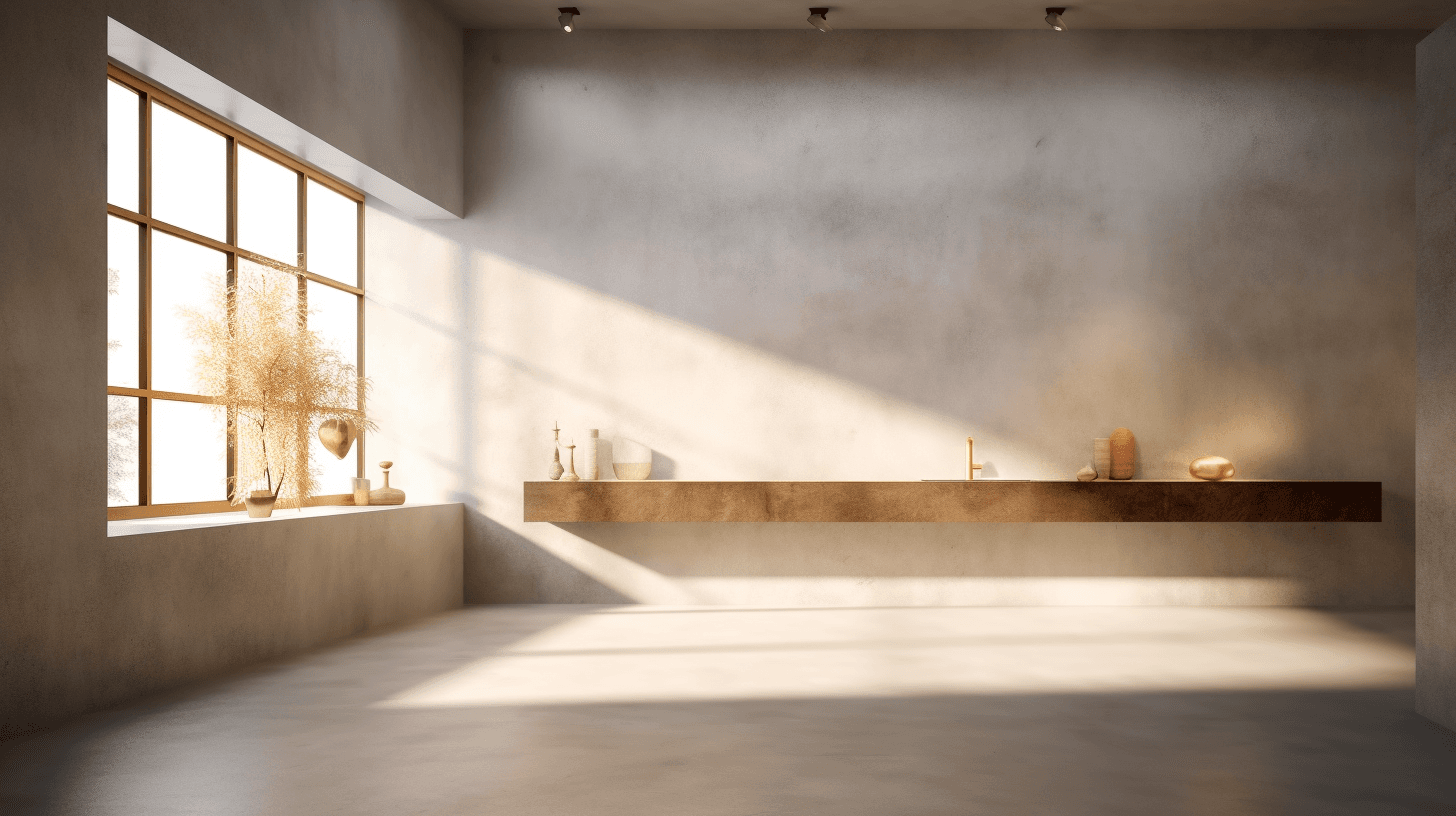
A hand-trowelled microcement feature wall brings depth through colour and texture while keeping the surface continuous.
 Inspiration image
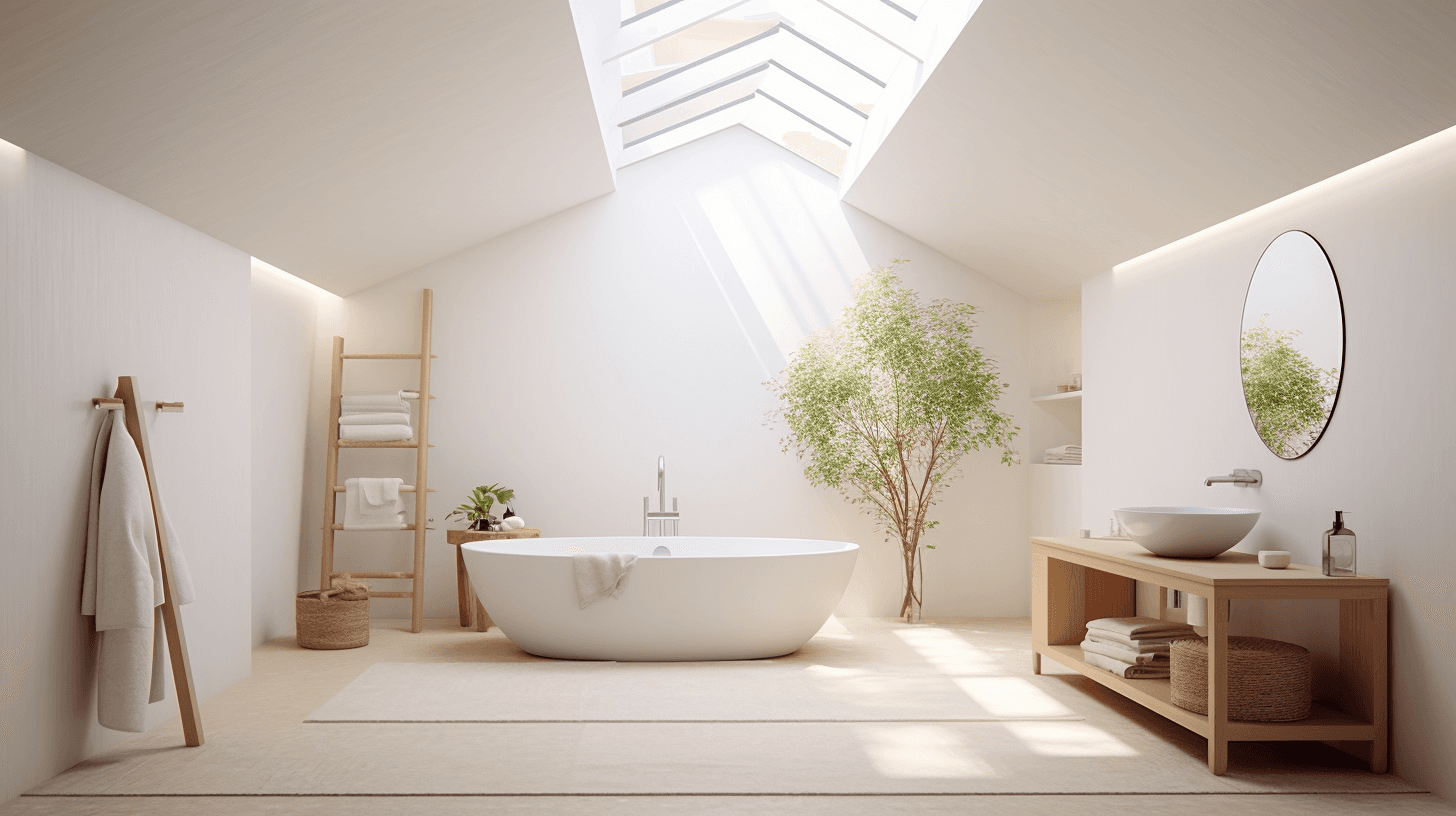
Bathroom renovations can retain suitable existing tiles while replacing grout-heavy visual breaks with a continuous, sealed surface.
 Inspiration image
Microcement can finish treads, risers and stringers as one continuous surface, so a staircase reads as a single sculptural form.