Spaces
Microcement bathrooms
Bathroom renovations can retain suitable existing tiles while replacing grout-heavy visual breaks with a continuous, sealed surface.
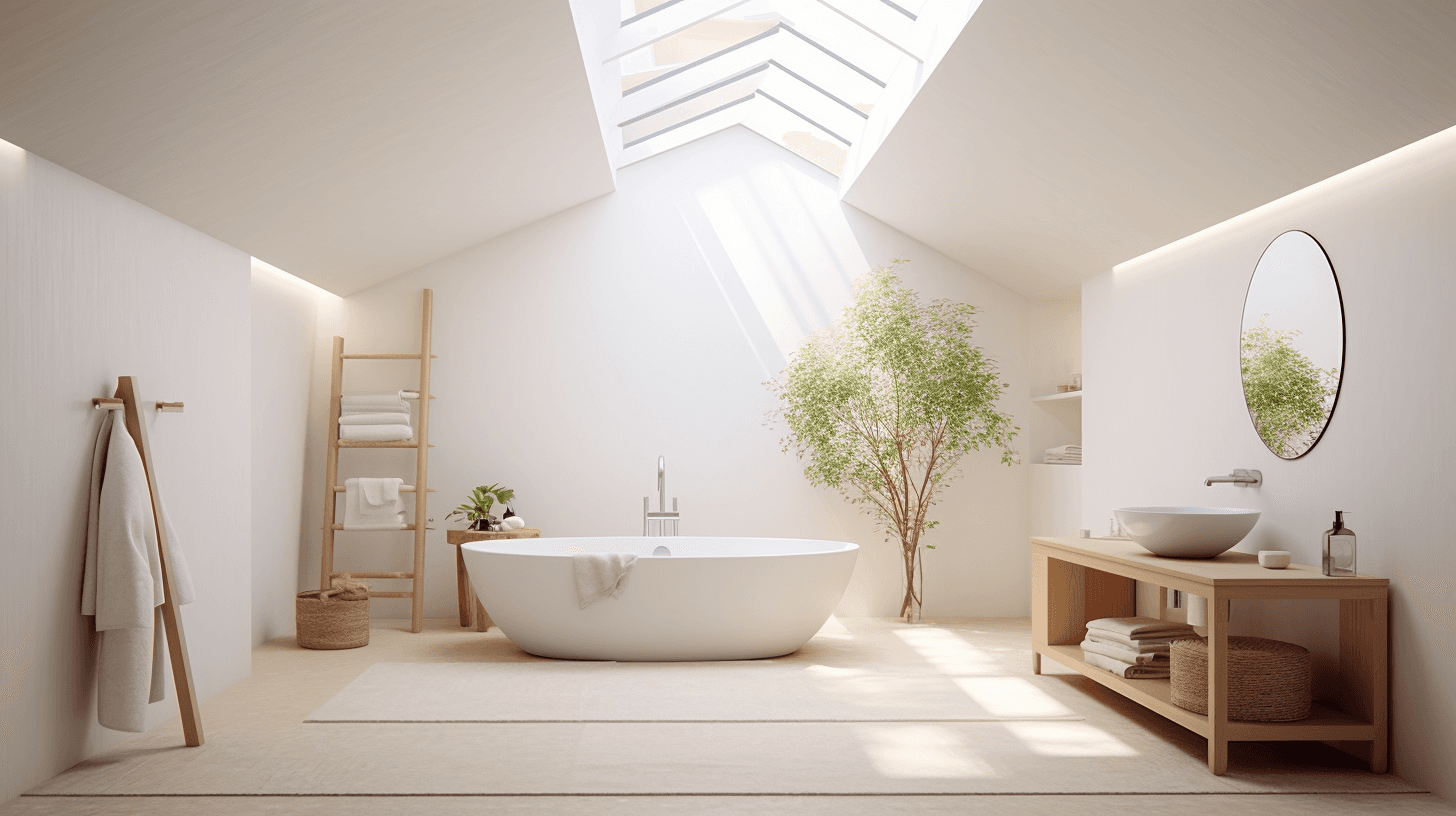
In context
The application in context.
Microcement is great for bathrooms. We can apply it over existing tiles and bathtubs, with no need to remove the old material. It is seamless and water-resistant, so there are no grout lines or seams where grime and mould usually accumulate. Choose from a variety of colours and finishes to make it your own.
Keep sound tiles in place
Firmly bonded, stable tiles can act as the substrate, so the room is refreshed without the rubble of a full strip-out.
One surface, floor to bath
The same finish can run across the floor, up the walls and over an existing bath, so the room reads as a single, calm shell.
Water-resistant once sealed
The sealer is what makes the surface water-resistant in daily use. Waterproofing behind the finish remains a separate requirement.
Fewer joints to scrub
With no grid of grout lines, routine cleaning is mostly a quick wipe with a mild, pH-neutral product.
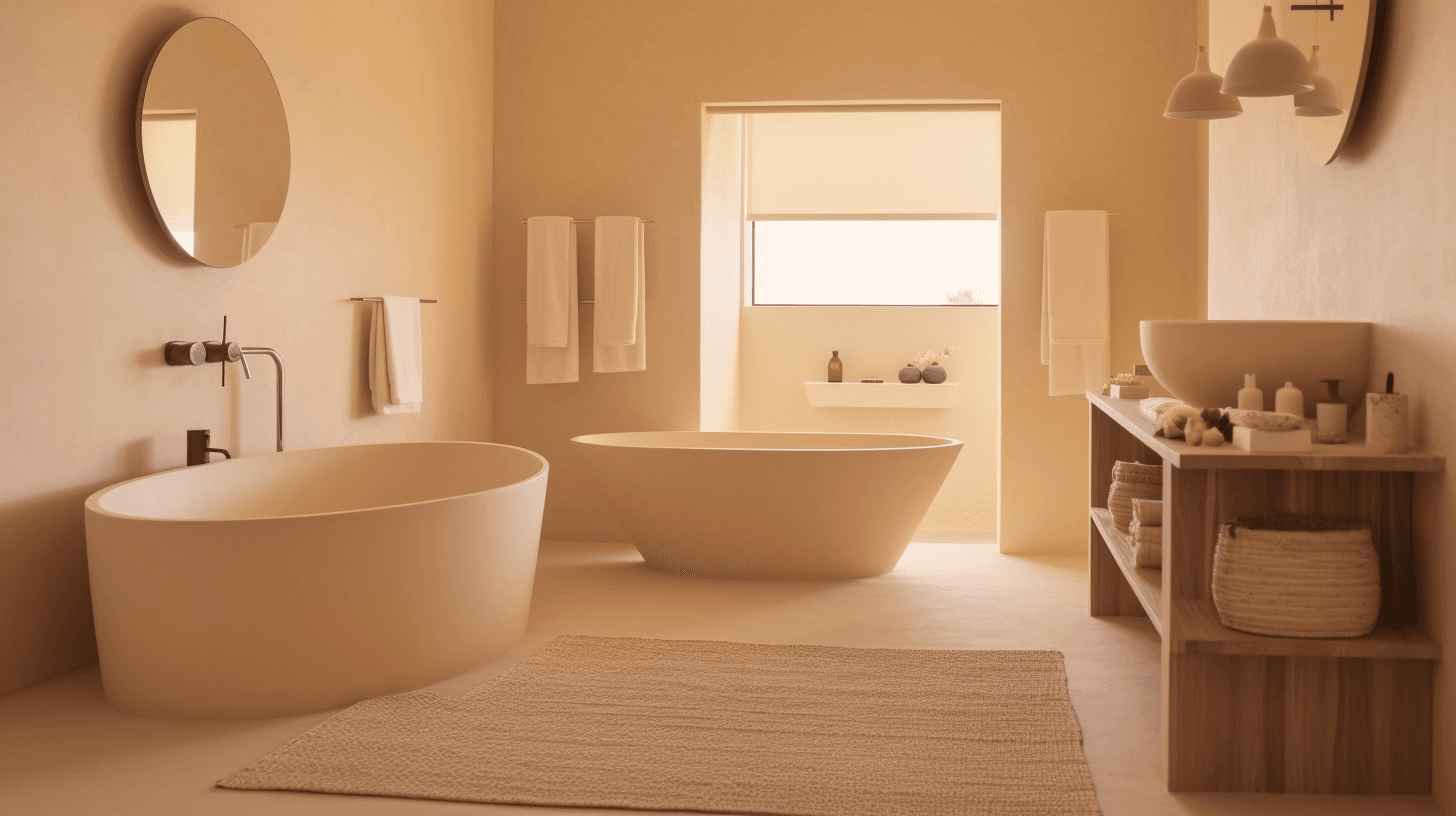 Inspiration image
Why microcement suits bathroom renovations
A microcement bathroom is built from thin, hand-trowelled layers rather than a grid of tiles, so the floor, walls and fittings can share one uninterrupted surface. With a total build-up of only 2–3 mm, the finish can often be applied over what is already there instead of replacing it.
That makes it a practical choice when the layout still works but the finishes feel dated. The microcement application itself typically takes 5–7 days, depending on the size and complexity of the room, and involves much less demolition than a traditional rebuild. The bathroom renovation guide walks through the planning order.
Where microcement can go in a bathroom
Most bathroom surfaces can be included, provided the substrate beneath each one is suitable:
- Floors, over firmly bonded tiles, cement mortar or self-levelling mortar.
- Walls, from a single splash zone behind the basin to full height.
- Existing baths and bath surrounds, once the surface has been assessed.
- Vanity tops, niches and ledges built from a suitable, stable substrate.
Showers need more planning because they are the wettest part of the room, so they have their own page: microcement showers.
Preparing tiles and other substrates
Tiles are a common starting point. Each area is checked for tiles that are loose, cracked or sound hollow, because the finish can only be as stable as the surface beneath it. The substrate must also be clean, level and below 5% humidity before primer is applied.
Plaster, plasterboard, cement mortar, marble and terrazzo can also be suitable, while natural timber and substrates made from pieces that expand at different rates are not advised. The guide to microcement over tiles explains the preparation in more detail.
Keep the finish and the waterproofing separate in your planning. Microcement becomes water-resistant once sealed, but it is not a waterproofing membrane, so wet-area waterproofing requirements are confirmed with your builder or the relevant professional before work begins.
Heated bathroom floors can be finished too. The heating has to be run in beforehand and switched off at least 48 hours before application, then brought back up gradually once the work is complete.
Colour, texture and sheen
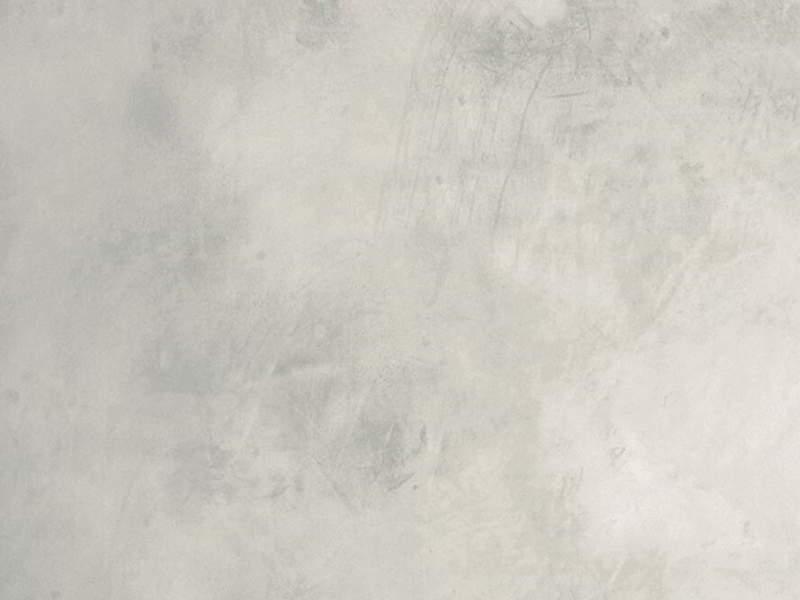
Bathrooms are often compact and lit by a single window or skylight, so colour shifts noticeably through the day. Pale finishes such as Blanco, Panacotta and Lino reflect light and keep a small room open, Mocha adds a soft, warm taupe, and Gris gives a cooler, cloud-like grey.
Texture and sheen belong to the same decision. A smooth, refined surface feels calm and minimal, while more visible trowel movement gives walls depth. View samples beside your tapware, joinery and stone before deciding, and send an enquiry to talk through the options.
Caring for a microcement bathroom
Day to day, a soft cloth or mop with a pH-neutral cleaner is usually all that is needed. Avoid abrasive pads, bleach and harsh acidic products such as strong limescale removers, because they can wear the sealer over time.
Wiping or squeegeeing wet areas after use limits water spotting. The surface keeps hardening for several weeks after application, so treat it gently in the first week, and plan to maintain the sealer over time. The cleaning and maintenance guide sets out a simple routine.
Colour direction
Finishes to start with.
A starting palette for bathrooms. Compare physical samples in your own light before deciding.
Browse every finish



01Can microcement be applied over an existing bath?
In many bathrooms, yes. The bath and its surround are assessed like any other substrate, and they need to be stable, clean and suitable for bonding. Where they are, the bath can be finished to match the floor and walls.
02Is a microcement bathroom floor slippery when wet?
How a floor feels underfoot depends on the finish texture, the sealer and how the room is used. Slip resistance is confirmed for each project with your builder or the relevant professional, so raise it early if it is a priority for your household.
03How long will the bathroom be out of use?
Expect the microcement work itself to take around 5–7 days, longer for larger or more complex rooms. The surface keeps hardening for several weeks afterwards, so use it gently in the first week and avoid harsh cleaning products while it cures.
Keep exploring
Related applications.
- Inspiration image
A microcement shower carries the bathroom's floor and wall finish into the wettest zone, without grout lines interrupting the surface.
 Inspiration image
Microcement gives kitchen benchtops, islands and bathroom vanities a seamless, hand-finished surface, and suitable existing benchtops can be coated in place.
 Inspiration image
Microcement walls wrap a room in one continuous, hand-finished surface, from a single wall to every vertical plane, including curves and reveals.