Surfaces
Microcement feature walls
A hand-trowelled microcement feature wall brings depth through colour and texture while keeping the surface continuous.
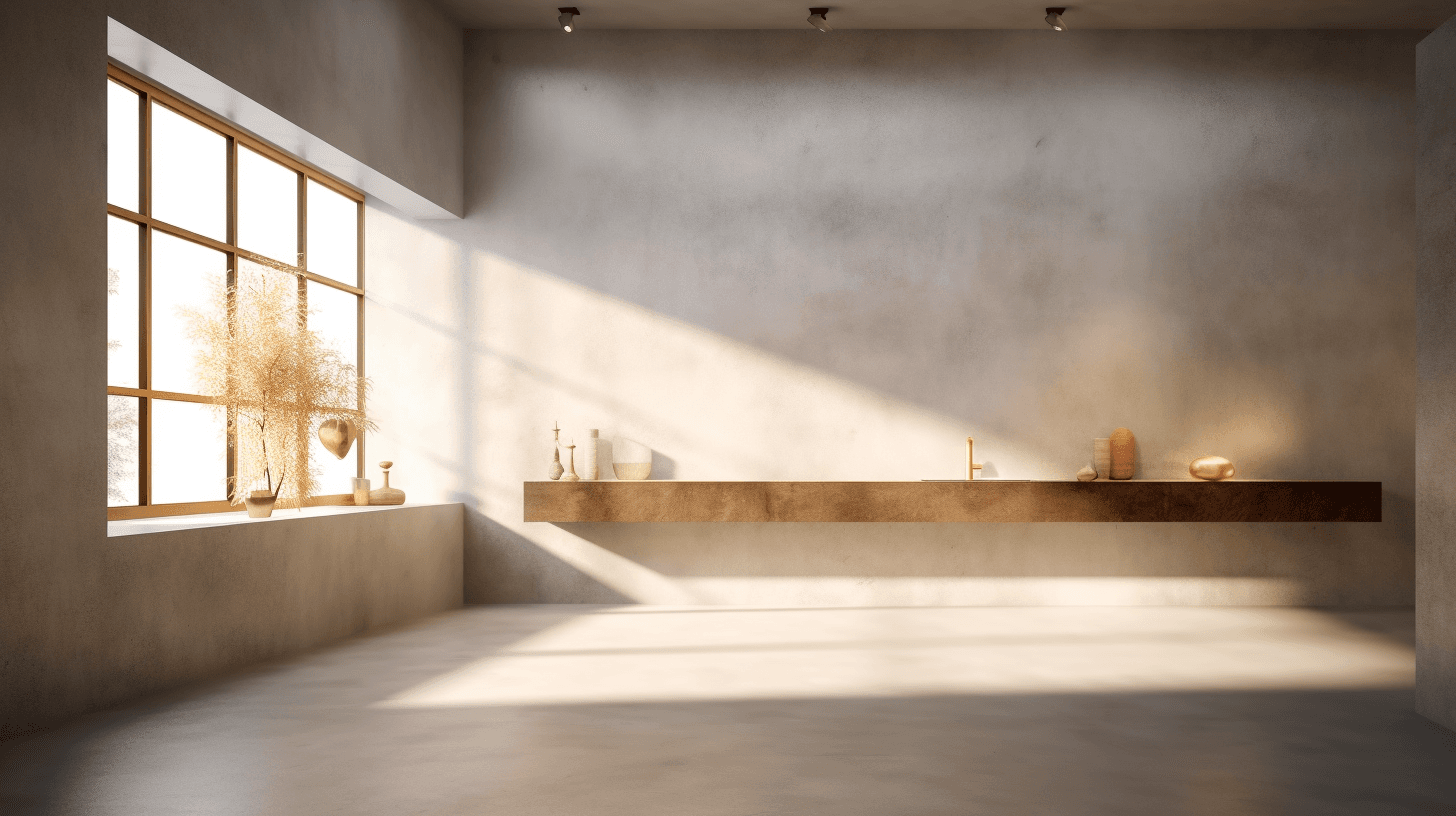
In context
The application in context.
Microcement is perfect for feature walls. It is smooth and easy to clean, helping your wall stand out without fuss. Its modern style gives a room a fresh look, with a wide choice of colours and finishes for a feature wall that really pops.
Depth from the hand
Every wall is trowelled by hand, so its tonal movement is individual and shifts as daylight moves across the room.
Room for bolder colour
A single wall can carry choices, from earthy Arcilla to the aged-metal look of the Oxid Metal collection, that might overwhelm a whole room.
Curves without joins
Microcement follows curves, returns and reveals as one continuous skin, which is difficult to achieve with panels or tiles.
Over common wall substrates
Plaster, plasterboard, cement mortar and existing tiles can all be suitable once they are stable, clean and dry.
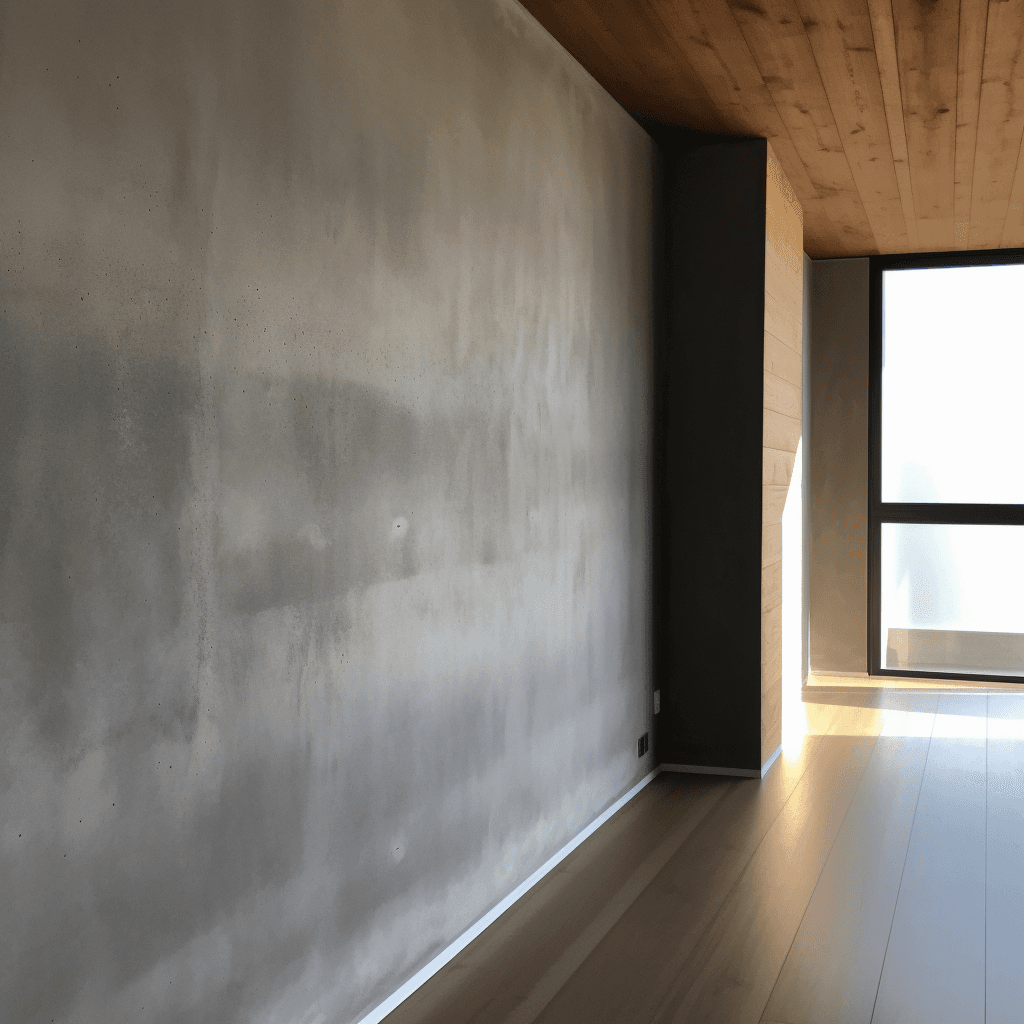 Inspiration image
What makes a microcement feature wall different
A microcement feature wall gets its presence from the way it is made. Layers are trowelled by hand, sanded and refined, so the surface carries subtle movement and tonal variation that a flat paint finish does not have, and no two walls are quite the same. The effect is quiet up close and more pronounced from across the room.
Because the finish is only 2–3 mm thick, it adds depth visually rather than physically, and it sits comfortably beside joinery, windows and door frames.
Choosing the right wall
The most effective feature walls are the ones you see first or most often. Before deciding, consider:
- Viewing angles: the wall you face on entering, or the one behind a sofa, bed or dining table.
- Light direction: low, raking light from a side window exaggerates texture, while even, frontal light softens it.
- Architecture: curved walls, niches, bulkheads and stair voids suit a continuous finish.
- What sits in front: shelving and artwork cover part of the surface, so decide whether texture or colour should lead.
Scale changes perception as well. Movement that looks subtle on a small sample becomes more noticeable across a full-height wall, so view the largest sample you can before deciding.
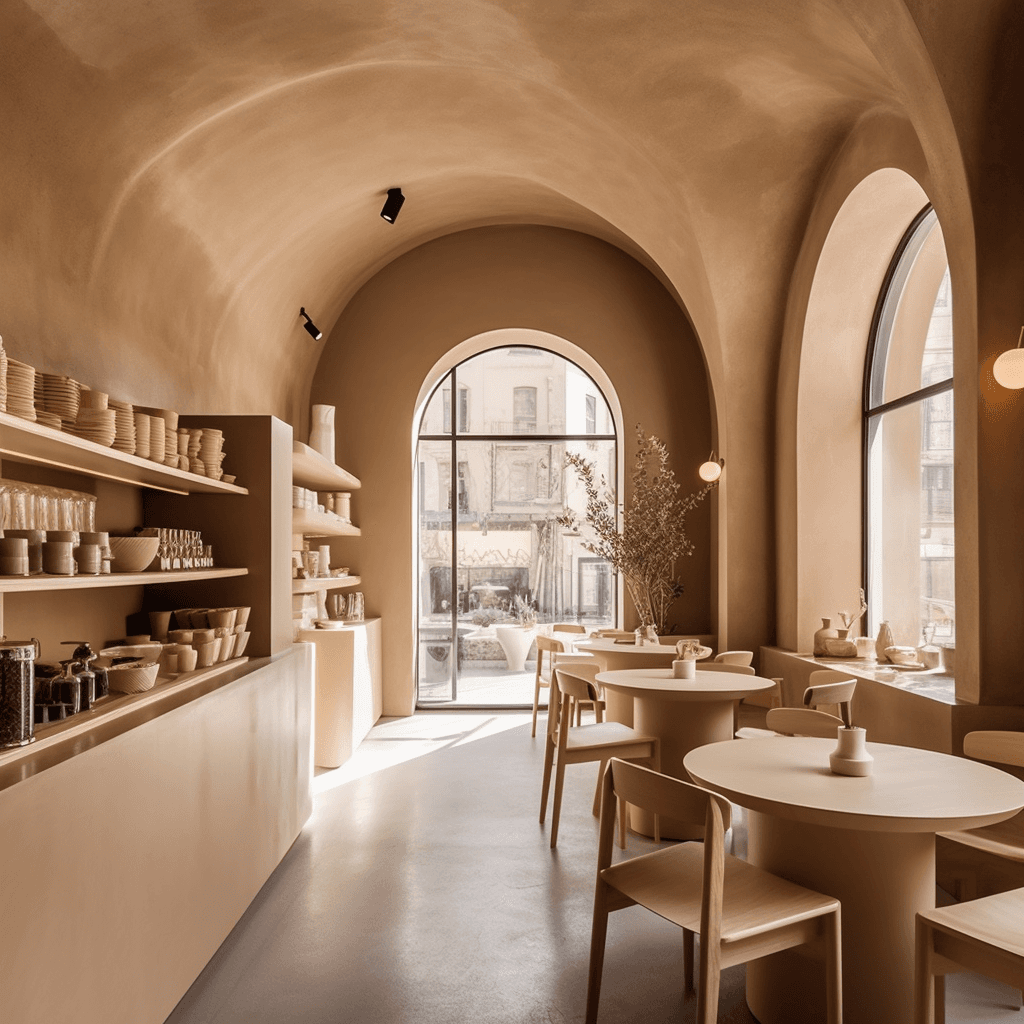
At ULA Café in Collingwood, Luxury Concrete collaborated with SuiL Architects on curved walls, counters and thresholds, showing how one finish can shape an entire room. For whole rooms rather than a single plane, see microcement walls.
Preparing the wall
Plaster, plasterboard, cement mortar, existing tiles and metal can all be suitable substrates. The wall must be stable, level and clean, with humidity below 5%, and anything that could stop the primer bonding, such as old paint, dust or grease, is removed first. Natural timber panelling is not advised. Note the switches, power points and intended fixings on the wall before work starts, so the finish can be worked around them.
Where a wall already shows cracks, understand the cause before any finish goes on, because microcement cannot correct movement in the structure behind it. Our article on why microcement can crack covers the usual causes.
Colour, texture and sheen
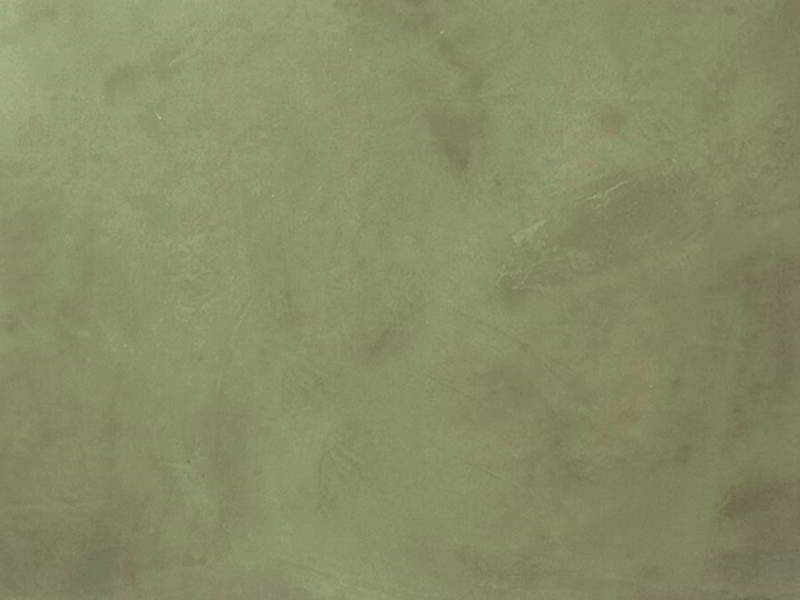
A feature wall can take more character than the surfaces around it. Graphite and Gris Marengo give a deep, mineral backdrop, Arcilla and Foresta bring earthy colour, and Oxid Metal finishes such as Bronze and Copper with oxidant have an aged, metallic look suited to a single statement wall.
Texture deserves equal attention. A tighter, smoother finish keeps the wall calm, and more visible trowel marks catch light and shadow. Screen colours are only a guide, so browse colours and textures, compare physical samples in the light of your own space and send an enquiry before deciding.
Plan the lighting with the wall. Downlights or wall washers set close to the surface graze it and bring out texture, while lights set further back flatten it, so settle their positions before the electrical work is finalised.
Caring for a feature wall
Walls take far less wear than floors. Dust occasionally with a soft cloth and remove marks with a damp cloth and a pH-neutral cleaner, avoiding abrasive sponges that could dull the sealed surface.
Colour direction
Finishes to start with.
A starting palette for feature walls. Compare physical samples in your own light before deciding.
Browse every finish




01Can a microcement feature wall go over existing paint?
Old paint is generally removed or prepared during surface preparation, because it can prevent the primer and microcement from bonding effectively. The wall is checked on site to confirm exactly what preparation it needs.
02Can I hang shelves or art on a microcement wall?
Yes, fixings can be drilled through the finish into the wall behind it. It is best to wait until the surface has had several weeks to harden, and to plan fixing positions before application where possible.
03Will the finished wall match the sample exactly?
Expect a close match rather than an exact one. Microcement is applied by hand, so tonal movement varies across a large wall, and the room's light changes how colour reads. Samples are most reliable when viewed in light similar to the wall's own.
Keep exploring
Related applications.
 Inspiration image
Microcement walls wrap a room in one continuous, hand-finished surface, from a single wall to every vertical plane, including curves and reveals.
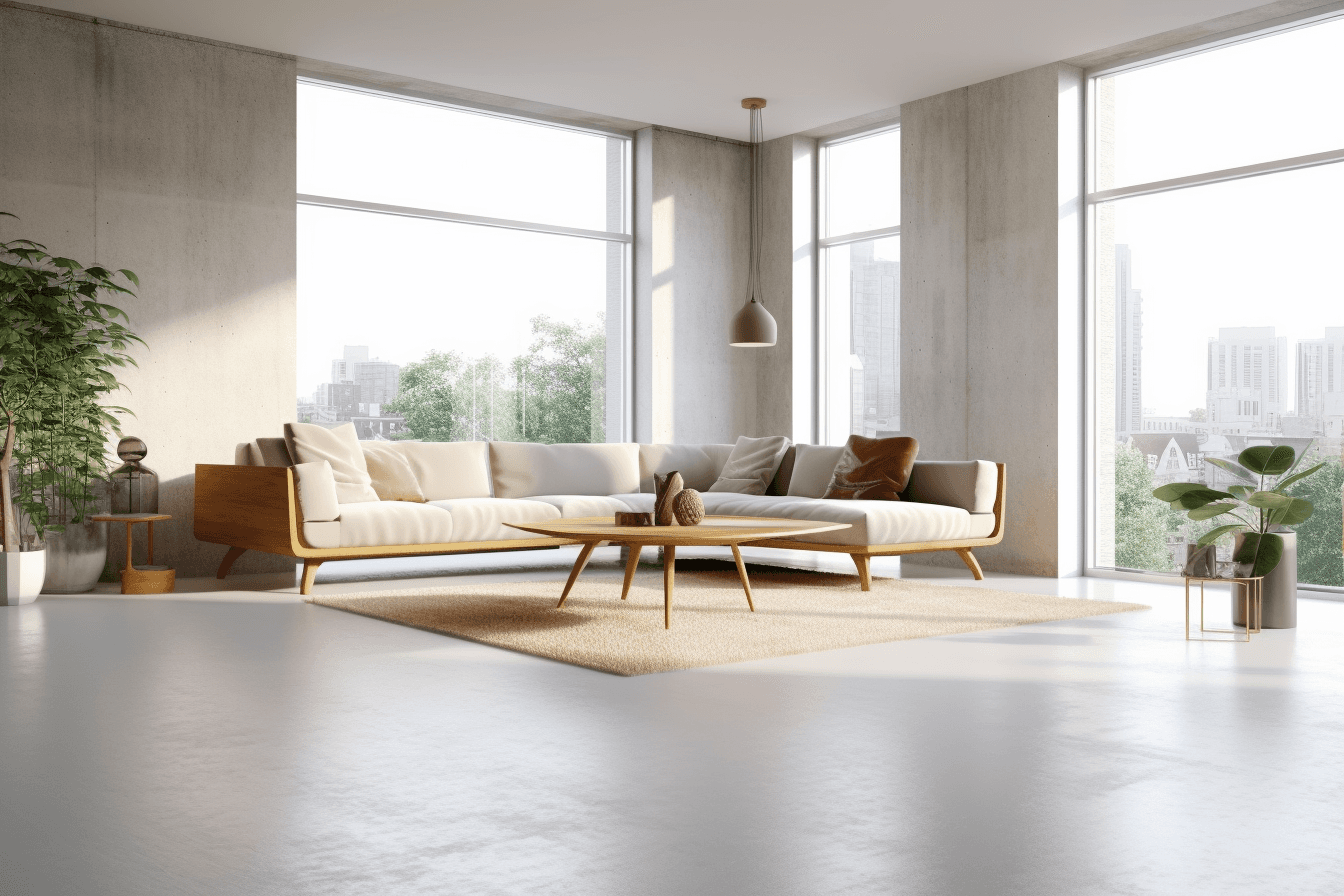 Inspiration image
Living rooms benefit from a continuous, hard-wearing surface that keeps the interior visually calm and straightforward to clean.
 Inspiration image
Microcement gives cafes, salons, shops and other busy interiors a continuous finish that is practical to maintain.