Spaces
Microcement kitchens
Microcement can update suitable tiles and benchtops with a thin, continuous finish, making it useful for renovation work.
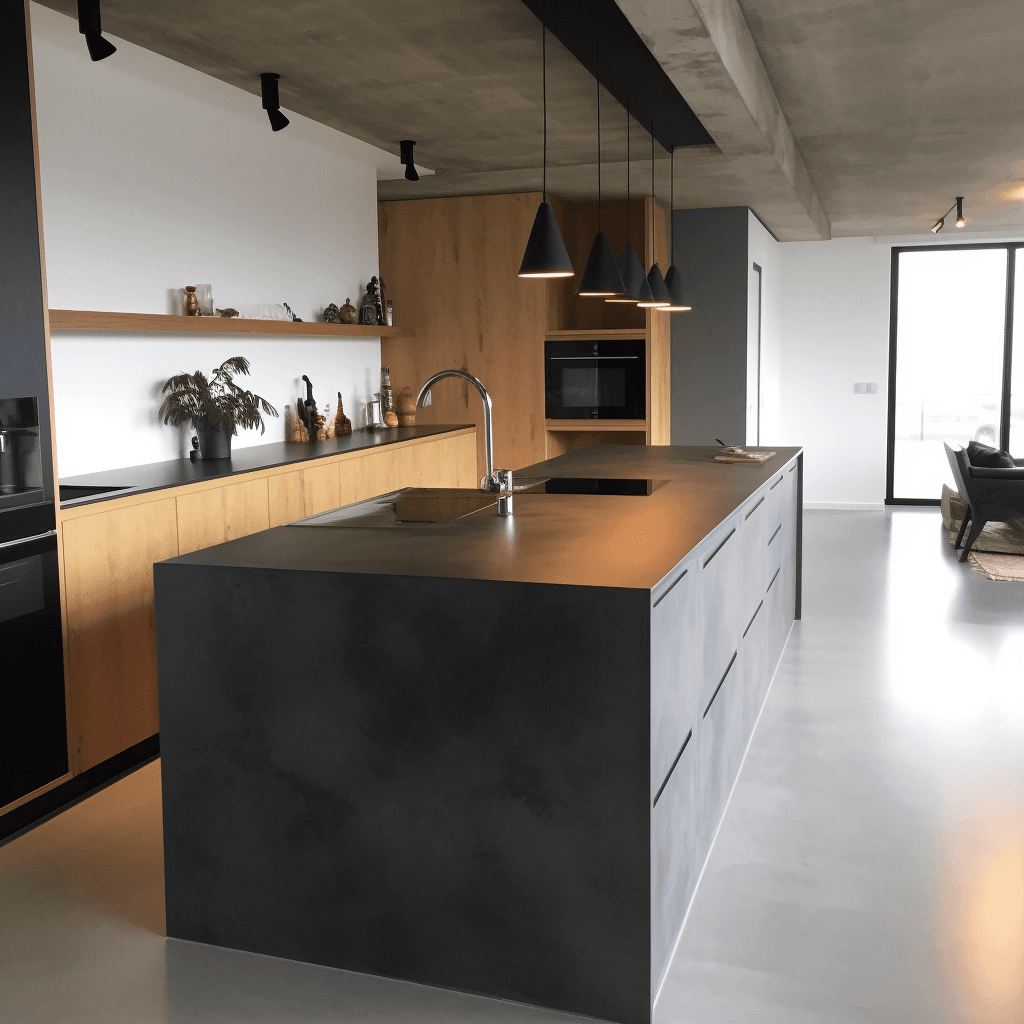
In context
The application in context.
Choosing microcement for your kitchen is a smart choice. Its smooth, easy-to-clean surface adds modern character. Perfect for renovations, it can be applied over tiles and old benchtops.
Keep the layout, renew the surfaces
Where cabinetry and plumbing still work, sound tiles and suitable old benchtops can be refinished in place rather than replaced.
Splashbacks without grout
A continuous splashback is quicker to wipe down behind the sink and cooktop than a wall of tiles and grout.
Sealed for kitchen life
The sealer protects against water and stains and is chosen with oils, acids and frequent cleaning in mind.
Connected open-plan floors
The kitchen floor finish can continue into dining and living areas, keeping an open-plan home visually connected.
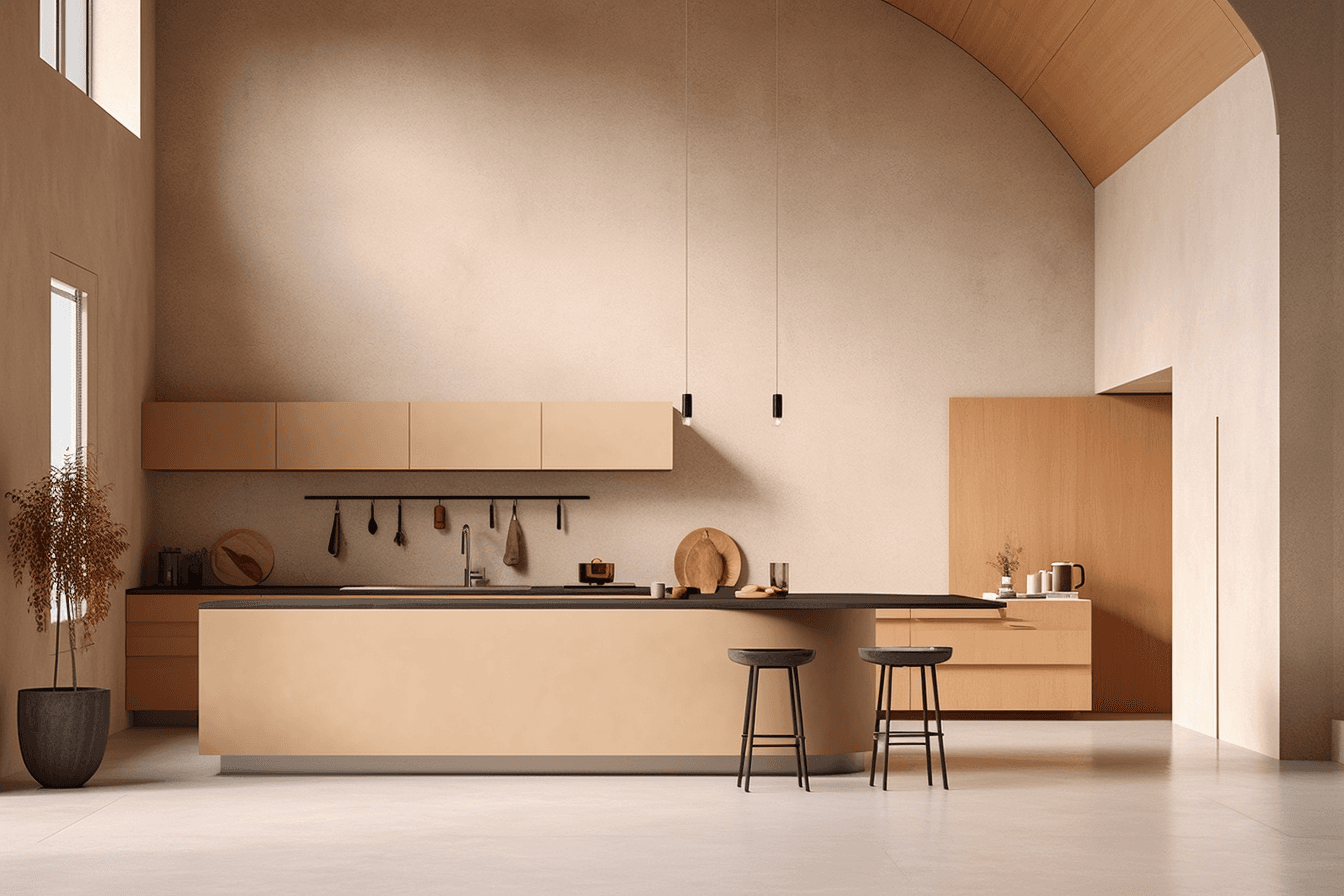 Inspiration image
Why microcement works in kitchens
Microcement kitchens replace a patchwork of tiles, grout and joins with one continuous finish across floors, splashbacks and benchtops. Because it is only 2–3 mm thick and bonds to a range of existing materials, it is especially useful when the layout is sound but the surfaces need renewing.
The sealer is what makes it practical. Microcement is not waterproof on its own, but once sealed it becomes water-resistant and better protected against the stains of daily cooking. Our guide to water resistance and waterproofing covers what that means in practice.
Surfaces to consider
In a kitchen, microcement is typically considered for four areas:
- Splashbacks, applied over sound tiles or a suitable wall substrate.
- Benchtops and islands, including suitable existing benchtops; the benchtops and vanities page covers these in detail.
- Island fronts and plinths built from a suitable, stable substrate.
- Floors, which can continue into dining and living areas.
Around the cooktop and sink, think about how each surface will be used day to day. Areas that see hot pans, oils and constant wiping rely on good habits and a well-maintained sealer, so discuss them before choosing colours.
Tiles, benchtops and preparation
Existing tiles need to be firmly adhered, and any that are loose or hollow are dealt with first. Old benchtops are checked for stability and material: marble and terrazzo can be suitable, while natural timber is not advised. Every surface must be clean, level and below 5% humidity, and kitchen grease is removed thoroughly because it can prevent an effective bond.
If new joinery is part of the project, agree the order of work early, so cabinetry and benchtop substrates are fixed and stable before microcement is applied. The guide to microcement over tiles explains how tiled surfaces are assessed, and the process page sets out the full sequence from primer to polishing.
Colour and finish in a kitchen
Kitchens bring together timber, stone, metal and appliances, so choose the microcement colour alongside them rather than in isolation. Alaska and Gris keep a bright, clean look, Camel and Latte suit warm timber joinery, Nogal is a muted, earthy brown-grey, and Graphite gives strong contrast on an island.
Sheen is worth considering too. A lower sheen tends to disguise fine scratches on a working surface, while a higher sheen reflects more light around a darker kitchen. Under-cabinet lighting runs straight down a splashback and shows its texture clearly, so a smoother finish often suits a brightly lit splashback better than heavy trowel movement.
Everyday care for a microcement kitchen
Wipe spills promptly, especially oil, wine, coffee, citrus and vinegar, which can mark the sealer if left to sit. Use chopping boards and trivets rather than cutting or placing hot pans directly on the surface, and use a pH-neutral cleaner on a soft cloth, never abrasive pads or harsh degreasers.
Because the sealer does the protective work, it is worth maintaining over time. The cleaning and maintenance guide explains what to use and what to avoid.
Colour direction
Finishes to start with.
A starting palette for kitchens. Compare physical samples in your own light before deciding.
Browse every finish





01Can microcement go over my kitchen splashback tiles?
Yes, if the tiles are firmly adhered and the surface is stable. The tiles are cleaned and degreased thoroughly, because cooking residue can prevent an effective bond, and any loose tiles are addressed before primer goes on.
02Will microcement stain from food and drink?
The sealer protects the surface from water and stains, but no sealer makes a kitchen surface immune. Wipe up oil, wine, coffee and acidic foods promptly, and maintain the sealer over time to keep that protection in place.
03Do I need to replace my old benchtops for a microcement kitchen?
Not necessarily. Old benchtops that are stable and made from a suitable material, such as marble or terrazzo, can be coated in place, while natural timber tops are not advised. Each benchtop is checked on site before it is recommended as a substrate.
Keep exploring
Related applications.
 Inspiration image
Microcement gives kitchen benchtops, islands and bathroom vanities a seamless, hand-finished surface, and suitable existing benchtops can be coated in place.
 Inspiration image
A microcement floor carries one continuous, sealed surface from room to room while adding only a few millimetres to the existing level.
 Inspiration image
Living rooms benefit from a continuous, hard-wearing surface that keeps the interior visually calm and straightforward to clean.